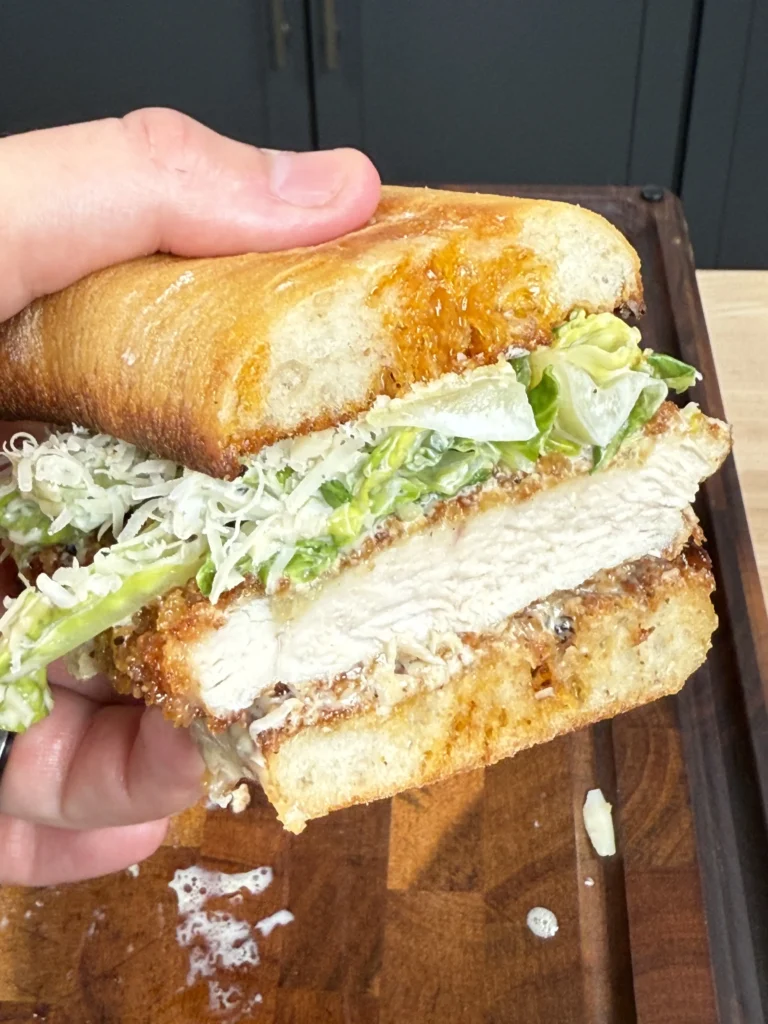
Fried Chicken Caesar Sandwich
Crispy Panko Fried Chicken Caesar Sandwich – Viral TikTok-Style Recipe
This crispy panko fried chicken Caesar sandwich delivers the perfect combination of crunchy, seasoned chicken and fresh Caesar flavors that’s taking social media by storm. This recipe features buttermilk-marinated chicken breasts coated in golden panko breadcrumbs for maximum crunch, then topped with classic Caesar salad elements for an unforgettable sandwich experience. The panko coating creates superior texture compared to regular breadcrumbs while the homemade Caesar dressing adds tangy, garlicky richness that complements the crispy chicken perfectly.
Whether you’re recreating the viral TikTok trend, planning a gourmet lunch, or simply craving the ultimate chicken sandwich, this recipe delivers restaurant-quality results at home. The versatile cooking methods allow you to fry, bake, or air fry the chicken to suit your preferences and equipment. This sandwich works perfectly for meal prep, casual entertaining, or any time you want to elevate the classic chicken sandwich with sophisticated flavors. The combination of crispy panko coating and fresh Caesar elements creates textural contrast that makes every bite exciting. Perfect for impressing guests who appreciate creative takes on comfort food classics with gourmet twists.
Mastering Panko Breadcrumb Techniques for Maximum Crunch
The secret to exceptional panko fried chicken lies in understanding how panko breadcrumbs create superior texture and crunch compared to traditional breadcrumbs. Panko breadcrumbs are made from crustless white bread that’s processed into larger, flakier pieces that create more surface area for browning and crisping.
This structure allows panko to absorb less oil while creating a lighter, crunchier coating that stays crispy longer. The three-station breading process is crucial for achieving professional results. The flour station provides initial adhesion, the egg wash creates a binding layer, and the panko creates the final crunchy exterior. Press the panko firmly into the chicken to ensure complete coverage and maximum adhesion during cooking. The buttermilk marinade serves multiple purposes – tenderizing the meat through natural acids, adding flavor, and creating a tacky surface that helps breading adhere better. Season each breading station appropriately to build layers of flavor throughout the coating.
The oil temperature is critical when frying – 350°F ensures the coating browns and crisps without absorbing excess oil. For baking or air frying, generous oil spraying helps achieve similar browning and crispiness without deep frying. Proper internal temperature monitoring ensures food safety while preventing overcooking that can dry out the chicken.
The Science Behind Caesar Dressing and Flavor Balance
The distinctive appeal of this panko fried chicken Caesar sandwich comes from the perfect balance of rich, crispy chicken and bright, tangy Caesar dressing that creates complementary flavors and textures. Traditional Caesar dressing combines mayonnaise, Parmesan cheese, and anchovies (represented here by Worcestershire sauce) to create umami-rich depth that enhances the fried chicken. The acid from lemon juice provides essential brightness that cuts through the richness of both the fried coating and creamy dressing. Dijon mustard adds pungent depth while helping emulsify the dressing for smooth consistency. Fresh garlic contributes sharp, aromatic notes that complement the savory coating spices. Worcestershire sauce provides the traditional anchovy flavor through fermented ingredients without requiring actual anchovies. The Parmesan cheese adds both saltiness and nutty complexity that pairs excellently with the panko coating.
This flavor combination creates the perfect contrast to crispy, seasoned chicken while adding moisture and richness that prevents the sandwich from being dry. The Caesar elements also provide fresh contrast through crisp romaine lettuce that adds textural variety. The overall effect creates a sophisticated sandwich that elevates simple fried chicken into something special through classic flavor pairings and expert seasoning balance.
Essential Tips and Cooking Method Variations
Several key techniques ensure your panko fried chicken Caesar sandwich turns out perfectly every time with optimal texture and flavor using any cooking method. Choose chicken breasts of uniform thickness for even cooking, or pound them to consistent thickness if necessary. The buttermilk marinade should last at least 1 hour, though overnight marination produces even better flavor and tenderness. Set up breading stations in order and keep one hand for wet ingredients and one for dry to prevent coating your fingers. Press panko firmly into the chicken – don’t be shy about packing it on for maximum crunch and coverage. For frying, maintain oil temperature at 350°F using a thermometer for consistent results and food safety. When baking at 425°F, use a wire rack over a baking sheet for air circulation and even browning. Spray or brush the breaded chicken generously with oil for proper browning in the oven.
For air frying at 375°F, don’t overcrowd the basket and flip halfway through cooking. Check internal temperature with an instant-read thermometer – chicken is done at 165°F. Let the cooked chicken rest for 5 minutes before assembling to prevent the coating from steaming and losing crispiness. For variations, try different seasoning blends in the flour mixture like Italian herbs or Cajun spices. Add bacon or avocado to the sandwich for extra richness. These sandwiches pair excellently with crispy fries, onion rings, or a simple green salad. Store leftover fried chicken refrigerated for up to 3 days and reheat in the oven or air fryer to restore crispiness.
Ingredients
For the Panko Fried Chicken:
- 2 boneless, skinless chicken breasts
- 1 cup buttermilk
- 1 teaspoon hot sauce (optional)
- 1 cup all-purpose flour
- 1½ cups panko breadcrumbs
- 1 teaspoon garlic powder
- 1 teaspoon onion powder
- 1 teaspoon smoked paprika
- 1 teaspoon kosher salt
- ½ teaspoon black pepper
- 2 large eggs, beaten
- Oil for frying (avocado or vegetable oil)
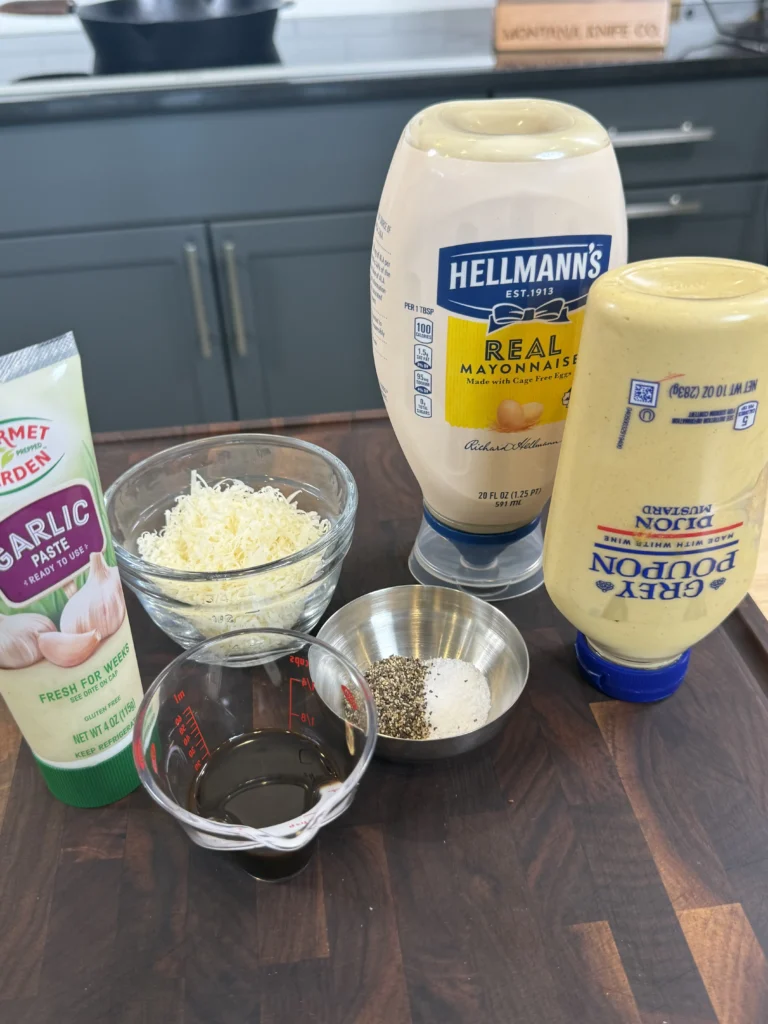
Caesar Dressing:
- ⅓ cup mayonnaise
- 2 tablespoons grated Parmesan cheese
- 1 teaspoon Dijon mustard
- 1 tablespoon fresh lemon juice
- 1 garlic clove, finely minced
- 1 teaspoon Worcestershire sauce
- Salt and black pepper to taste
Assembly:
- 4 brioche or kaiser rolls, toasted
- 4 cups romaine lettuce, chopped
- ¼ cup Parmesan cheese, shaved
- Optional: crispy bacon strips
- Optional: sliced tomatoes
Step-by-Step Instructions
Step 1: Marinate the Chicken
In a large bowl or zip-top bag, combine buttermilk with optional hot sauce and whisk until well combined. Add the chicken breasts, ensuring they’re completely submerged in the marinade. Cover the bowl or seal the bag and refrigerate for at least 1 hour, though 4-8 hours will yield even better flavor and tenderness.
The buttermilk’s natural acids will tenderize the meat while the enzymes break down proteins for more tender results. Remove the chicken from refrigeration 15-20 minutes before breading to bring closer to room temperature for more even cooking. The marinated chicken should feel tender and have absorbed the tangy buttermilk flavors throughout.
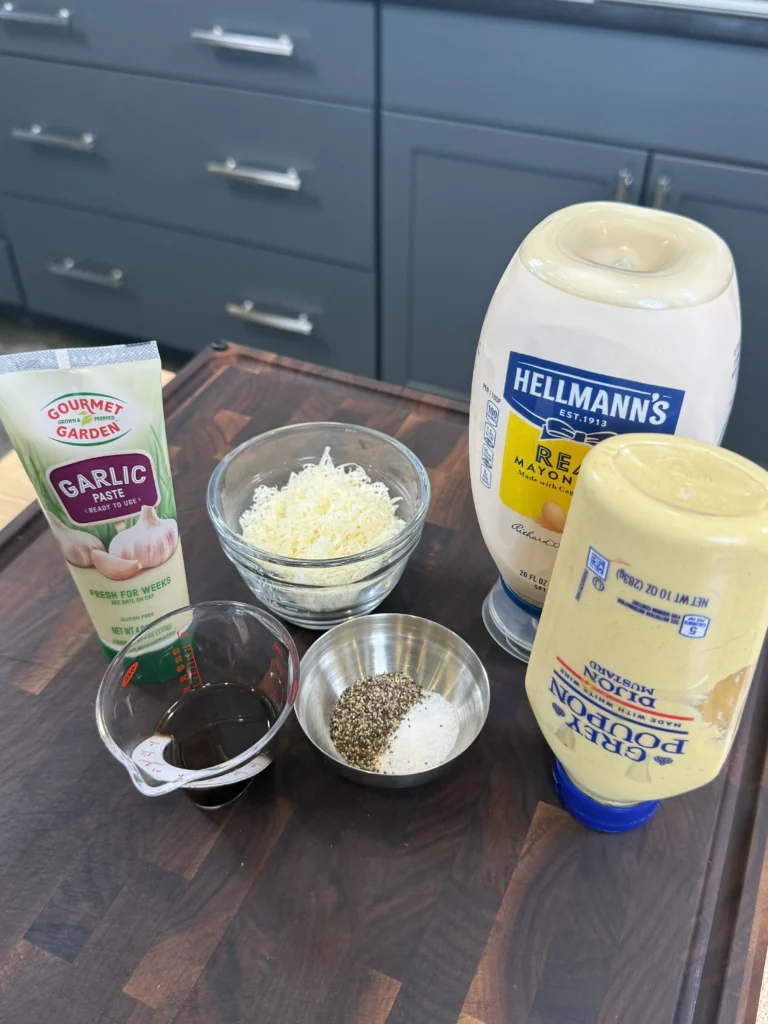
Step 2: Prepare Caesar Dressing
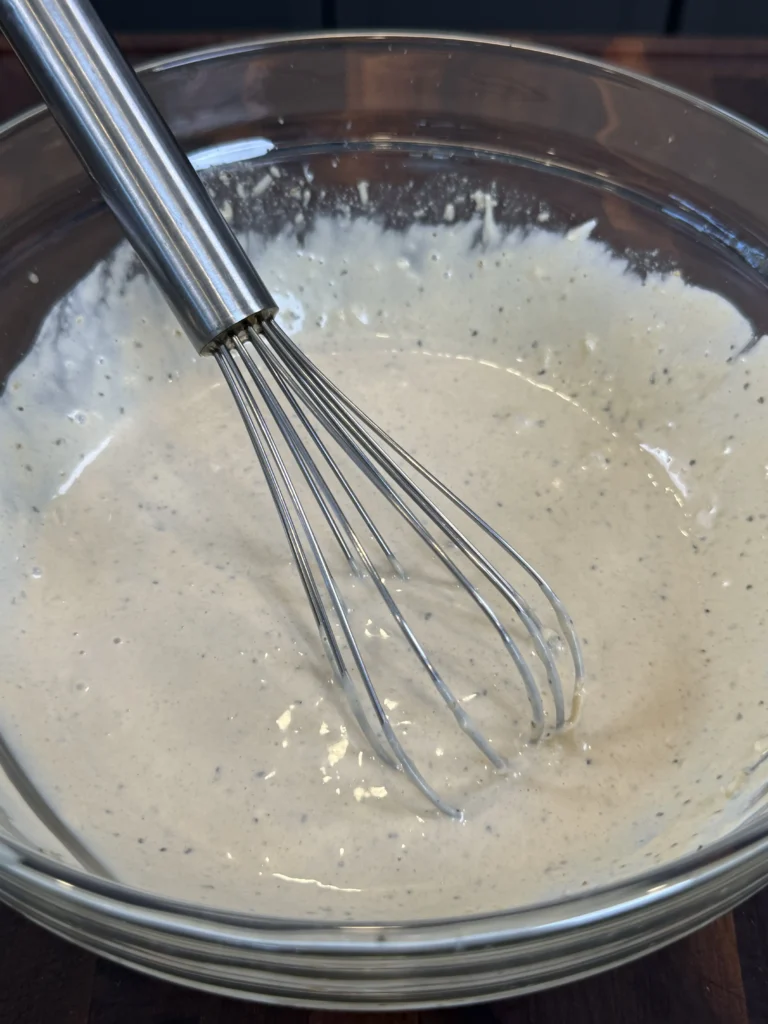
In a medium mixing bowl, whisk together mayonnaise, grated Parmesan cheese, Dijon mustard, fresh lemon juice, minced garlic, and Worcestershire sauce until smooth and well combined. The mixture should be creamy with no lumps and have a pale yellow color from the lemon juice and mustard.
Taste and season with salt and black pepper as needed – the dressing should be tangy, garlicky, and well-balanced. If too thick, thin with additional lemon juice or a splash of water. If too thin, add more grated Parmesan. Cover and refrigerate until ready to use, allowing flavors to meld. This dressing can be made up to 2 days ahead and stored refrigerated.
Step 3: Set Up Breading Stations
Arrange three shallow dishes or pie plates in a row for the breading process. In the first dish, combine all-purpose flour with garlic powder, onion powder, smoked paprika, kosher salt, and black pepper, whisking to distribute seasonings evenly. For the second dish, place the beaten eggs, whisking them until well combined and slightly frothy. In the third dish, pour the panko breadcrumbs, ensuring they’re evenly distributed.
This assembly line setup allows for efficient breading while keeping wet and dry ingredients properly separated. Have a clean plate ready to hold the breaded chicken before cooking. This organization prevents mess and ensures consistent coating on each piece.
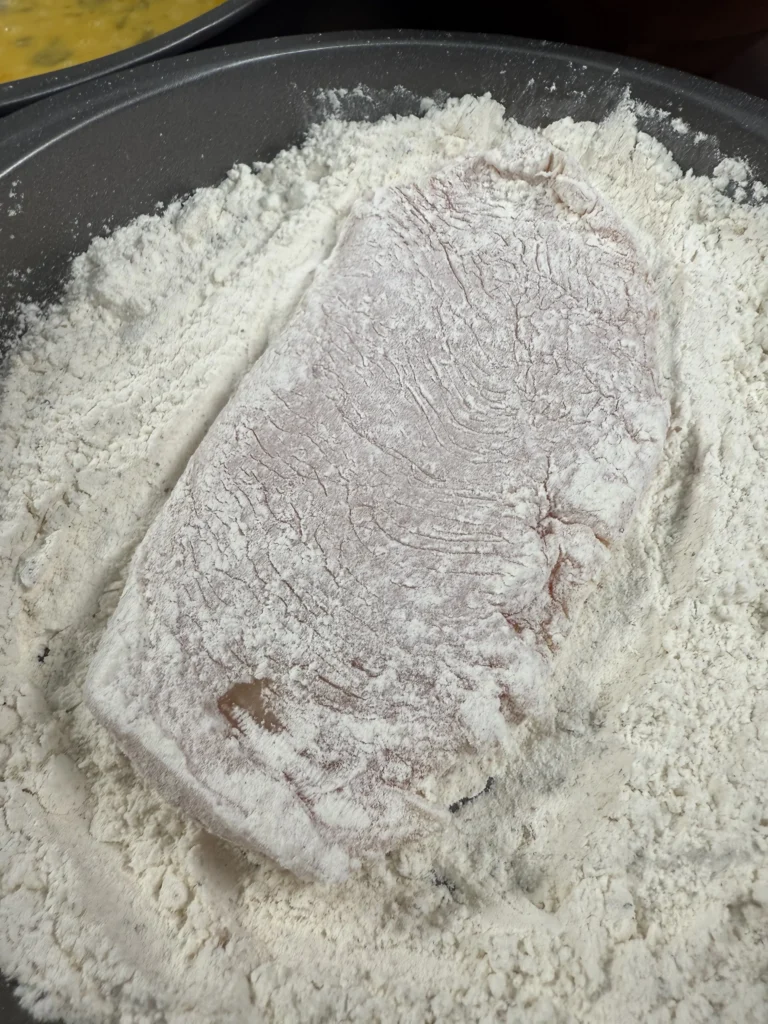
Step 4: Bread the Chicken
Remove the chicken from the buttermilk marinade and let excess liquid drip off, but don’t pat completely dry as some moisture helps the flour adhere. Working with one piece at a time, dredge the chicken in the seasoned flour mixture, coating all surfaces and pressing gently to ensure adherence.
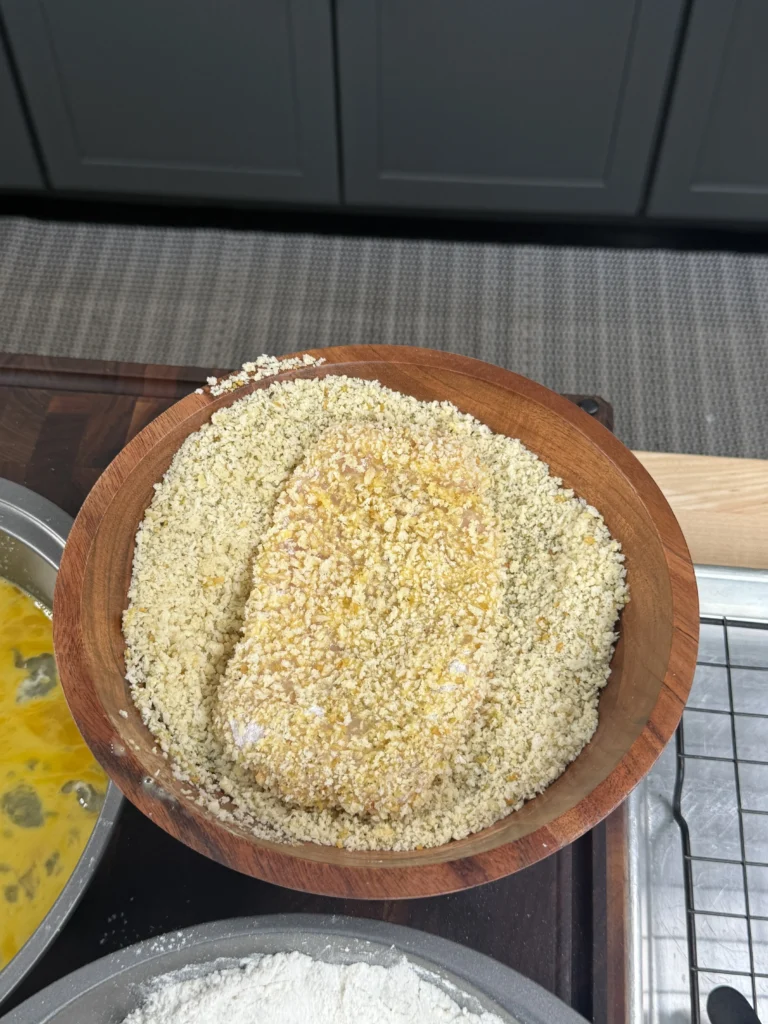
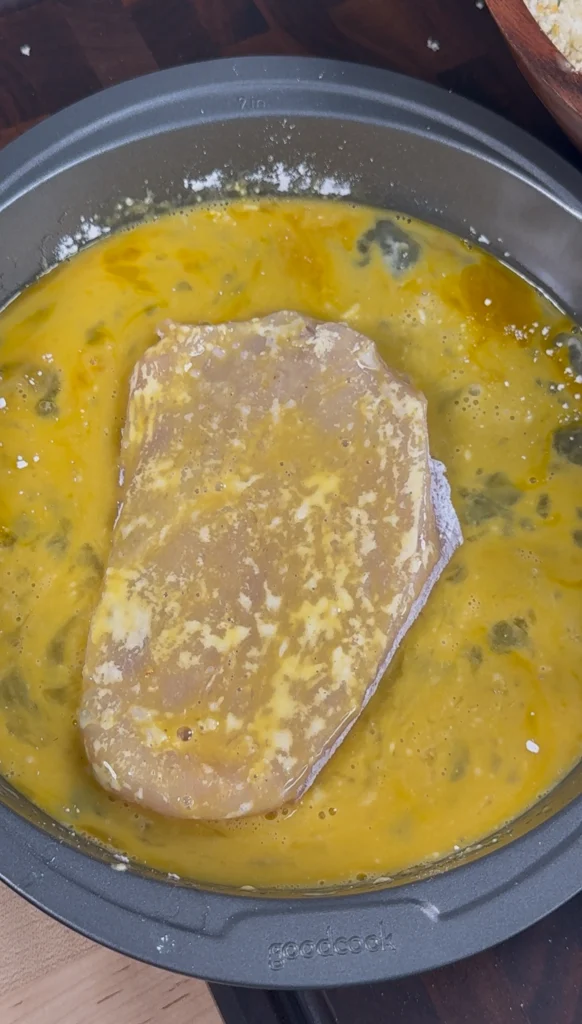
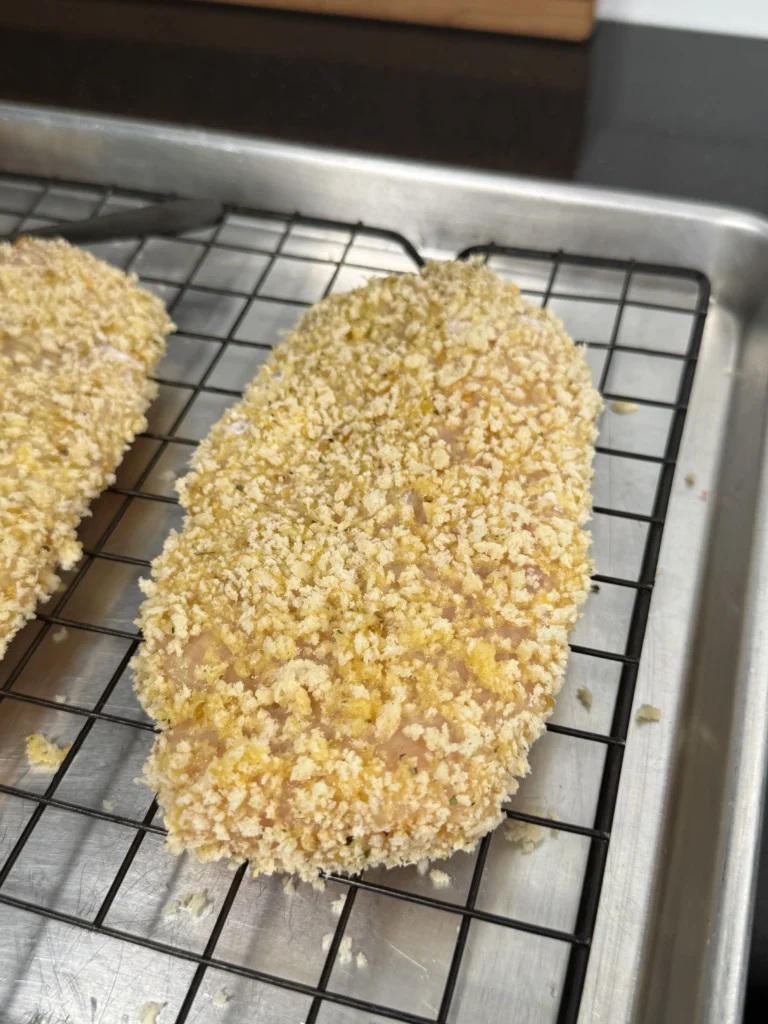
Shake off excess flour, then dip into the beaten eggs, allowing excess to drip off. Finally, press the chicken firmly into the panko breadcrumbs, packing them on generously to create a thick, even coating. Press the panko into all surfaces including edges and crevices for complete coverage. The finished pieces should be completely coated with no visible chicken showing through. Place breaded chicken on the prepared plate while you bread the remaining pieces.
Step 5: Cook the Chicken (Choose Your Method)
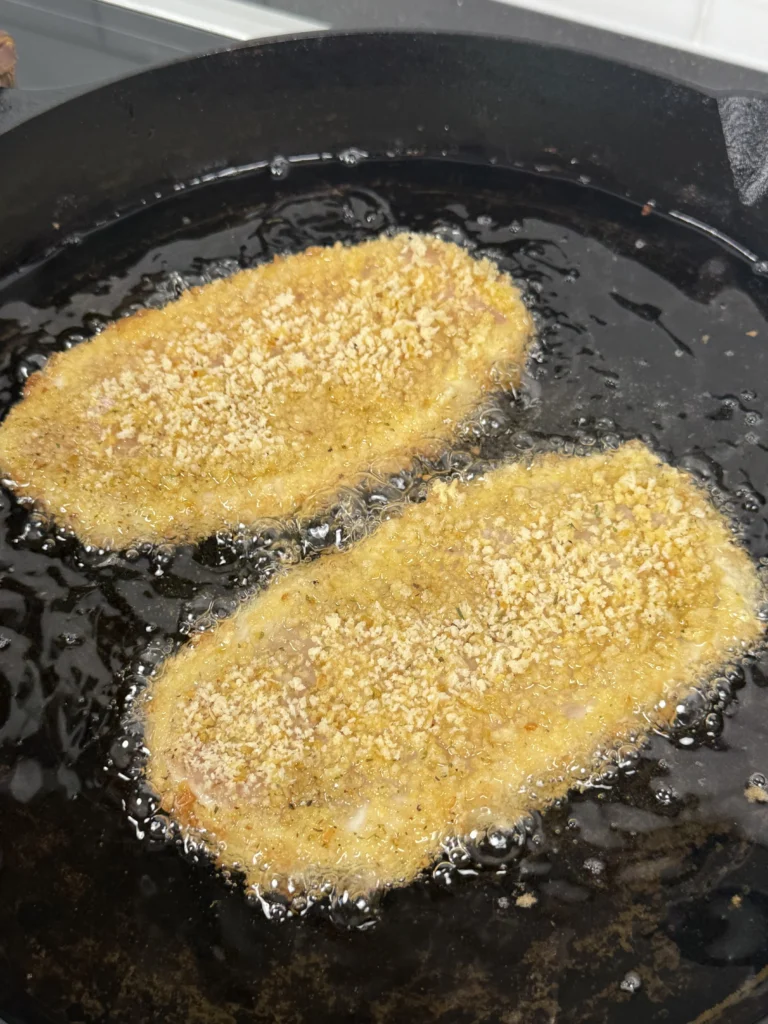
For Frying: Heat 1-1.5 inches of oil in a large, heavy skillet to 350°F. Carefully add breaded chicken and fry for 3-4 minutes per side until golden brown and internal temperature reaches 165°F. For Baking: Preheat oven to 425°F. Place breaded chicken on a wire rack over a baking sheet, spray generously with cooking spray, and bake 20-25 minutes, flipping halfway through.
For Air Frying: Preheat air fryer to 375°F. Spray chicken with oil and cook 12-15 minutes, flipping once halfway through. Regardless of method, ensure internal temperature reaches 165°F for food safety. Let cooked chicken rest for 5 minutes before assembling sandwiches to prevent steaming the coating.
Step 6: Assemble the Caesar Sandwiches
Toast the brioche or kaiser rolls until golden brown and slightly crispy. In a large bowl, toss the chopped romaine lettuce with about half of the prepared Caesar dressing until leaves are well coated. Slice the rested fried chicken into portions that fit your sandwich buns. Spread additional Caesar dressing on both the top and bottom bun halves. Place the crispy panko chicken on the bottom bun, then top with the dressed romaine lettuce and shaved Parmesan cheese.

Add optional bacon or tomato slices if desired. Crown with the top bun and serve immediately while the chicken is still warm and crispy. Provide extra Caesar dressing on the side for guests who want additional flavor. These sandwiches are best enjoyed fresh when the contrast between hot, crispy chicken and cool, crisp lettuce is at its peak.
Crispy Panko Fried Chicken Caesar Sandwich
Ingredients
- – 2 boneless skinless chicken breasts
- – 1 cup buttermilk
- – 1 teaspoon hot sauce optional
- – 1 cup all-purpose flour
- – 1½ cups panko breadcrumbs
- – 1 teaspoon garlic powder
- – 1 teaspoon onion powder
- – 1 teaspoon smoked paprika
- – 1 teaspoon kosher salt
- – ½ teaspoon black pepper
- – 2 large eggs beaten
- – ⅓ cup mayonnaise
- – 2 tablespoons grated Parmesan cheese
- – 1 teaspoon Dijon mustard
- – 1 tablespoon lemon juice
- – 1 garlic clove minced
- – 1 teaspoon Worcestershire sauce
- – 4 brioche rolls toasted
- – 4 cups romaine lettuce chopped
- – ¼ cup Parmesan cheese shaved
- – Oil for cooking
Instructions
- Marinate chicken in buttermilk and hot sauce for 1+ hours. Make Caesar dressing by whisking mayo, Parmesan, mustard, lemon juice, garlic, and Worcestershire.
- Set up breading stations: seasoned flour, beaten eggs, and panko breadcrumbs.
- Dredge chicken in flour, dip in eggs, then press firmly into panko for complete coating.
- Cook using preferred method: Fry at 350°F for 3-4 minutes per side, bake at 425°F for 20-25 minutes, or air fry at 375°F for 12-15 minutes until 165°F internal temperature.
- Rest chicken 5 minutes. Toss romaine with Caesar dressing.
- Assemble sandwiches with dressed lettuce, crispy chicken, and shaved Parmesan on toasted buns.
Notes
– Multiple cooking methods available for different equipment
– Caesar dressing can be made 2 days ahead
– Internal temperature must reach 165°F for food safety
Conclusion
This crispy panko fried chicken Caesar sandwich represents the perfect fusion of viral food trends and classic flavors that creates an unforgettable dining experience. The superior crunch of panko breadcrumbs combined with tangy, homemade Caesar dressing elevates the humble chicken sandwich into something truly special that’s worthy of social media fame. Whether you’re serving these alongside crispy fries for a complete meal or enjoying them as a gourmet lunch, these sandwiches are guaranteed to satisfy cravings for both comfort food and sophisticated flavors.
That incredible panko coating technique is so effective, you’ll want to use it for other fried chicken applications or try it with different proteins. The beauty of this recipe lies in its ability to combine trending techniques with timeless flavors, creating something that appeals to both food enthusiasts and casual diners alike. Fire up your oil, gather those fresh ingredients, and prepare to create the crunchiest, most flavorful chicken sandwich that’s destined to become your new signature dish!
Want more recipes like this? Check out all of our grilling recipes here for more steak, seafood, and BBQ favorites that are perfect for your next cookout.
Looking for Something specific? Click a category below!
ITEMS USED IN THIS RECIPE
Hasty Bake Charcoal Grill and Smoker
Upgrade Your Meat Game with Grill Nation x Linz Heritage Angus
If you really want to take your grilling and cooking to the next level, you need to check out our collaboration with Linz Heritage Angus. We’ve partnered with them to bring you some of the best beef you can get your hands on.
Linz Heritage Angus isn’t your typical grocery store meat. These guys are the real deal – they raise their cattle the right way, and you can taste the difference in every bite. We’re talking about beef that’s been dry-aged to perfection, with marbling that makes your mouth water just looking at it.
Check out these premium cuts that’ll change how you think about beef:
- Premium Ribeye Steaks – Perfect for special occasions
- Dry-Aged Beef Selection – Take your grilling to the next level
- Ground Beef & Burger Blends – The foundation of great BBQ
Use code GN15 at checkout for 15% off your first order. Trust me, once you try Linz Heritage Angus, you’ll never want to go back to regular store-bought beef.