Chopped Cheese Crunchwraps
TIktok Chopped Cheese Crunchwraps – TikTok’s Latest Food Obsession
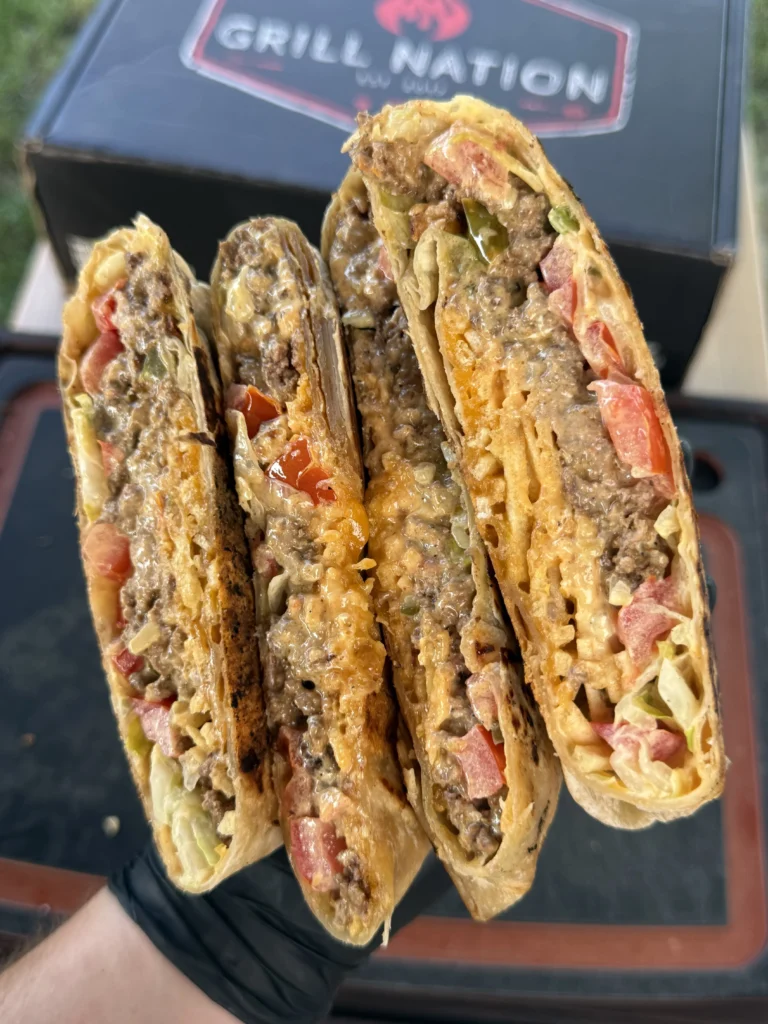
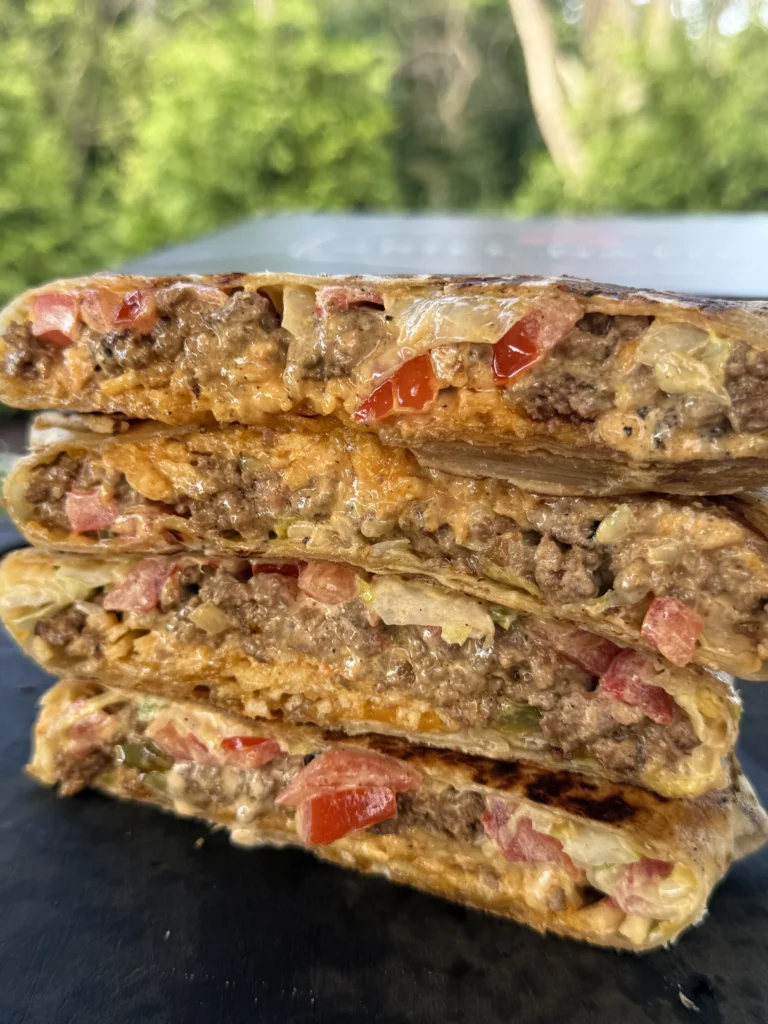
These Viral Chopped Cheese Crunchwraps combine the iconic flavors of New York’s beloved chopped cheese sandwich with the satisfying crunch and portability of a crunchwrap. This TikTok-famous recipe transforms seasoned ground beef, caramelized onions, and melted cheese into a crispy, handheld masterpiece. Moreover, it’s ready in under 30 minutes and perfect for lunch, dinner, or late-night cravings.
If a New York chopped cheese and a crunchwrap had a baby, this would be it. The combination of savory beef, gooey cheese, and fresh toppings wrapped in a golden, crispy tortilla creates the ultimate comfort food fusion. Additionally, this viral sensation has taken social media by storm for good reason. It delivers all the flavors you love in an easy-to-eat format that’s absolutely addictive.
Mastering the Perfect Chopped Cheese Filling for Crunchwraps
Creating the Foundation with Ground Beef
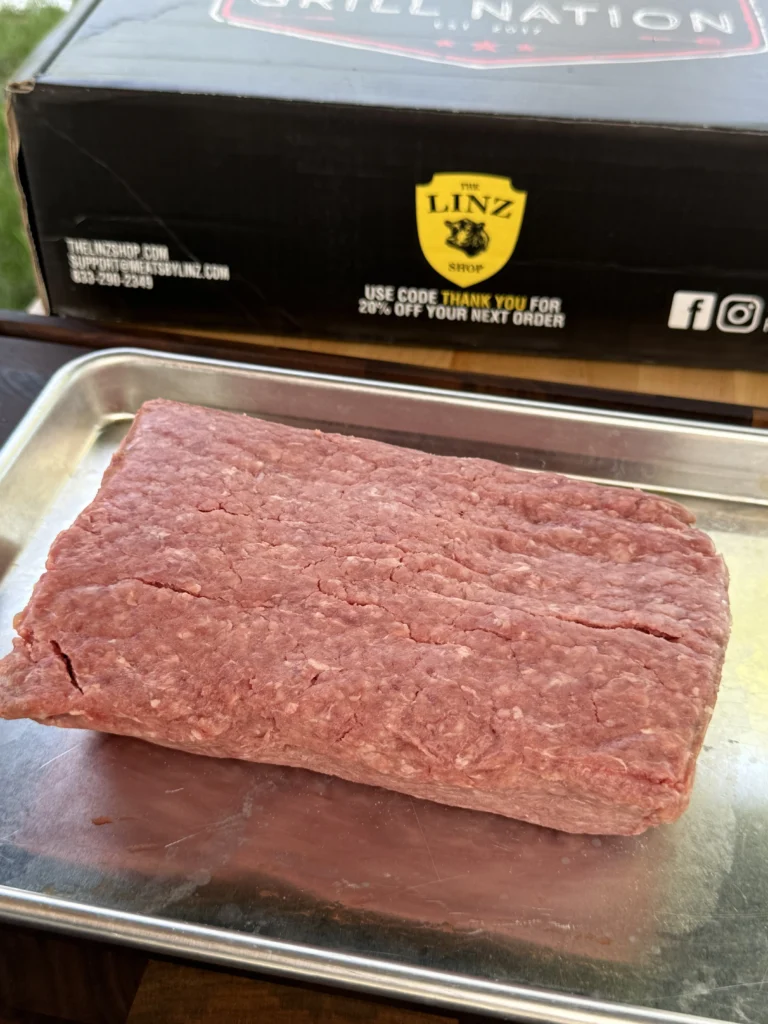
The heart of exceptional chopped cheese crunchwraps lies in perfectly seasoned ground beef that captures the authentic New York bodega flavor. Start with 80/20 ground beef because the fat content provides essential flavor and moisture. Furthermore, it prevents the filling from becoming dry or crumbly during cooking.
Proper seasoning is crucial for authentic taste. Garlic powder, smoked paprika, and Worcestershire sauce create the signature flavor profile. Meanwhile, salt and pepper enhance all the other seasonings. The key is browning the beef properly to develop deep, caramelized flavors that make these crunchwraps irresistible.
Caramelizing Onions for Maximum Flavor
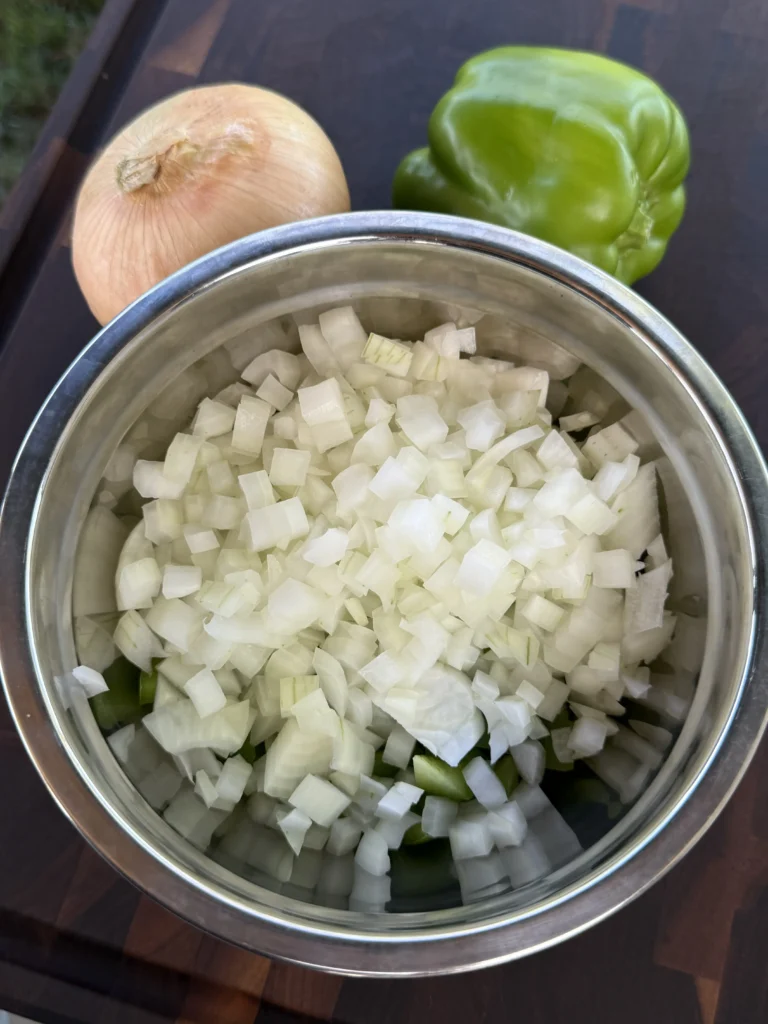
Caramelized onions elevate these crunchwraps from good to extraordinary. Cook diced yellow onions slowly until golden and slightly caramelized, about 5-6 minutes. This process develops natural sweetness that balances the savory beef. Additionally, it adds textural interest and authentic bodega flavor.
The onions should be soft and golden, not browned or crispy. Therefore, medium heat works best for proper caramelization. If they start browning too quickly, lower the heat. The patience pays off with incredible depth of flavor in your finished crunchwraps.
The “Chopping” Technique
The signature “chopping” technique gives these crunchwraps their name and texture. After melting cheese over the cooked beef, use a spatula to chop everything together. This creates the characteristic chunky, melted mixture that defines chopped cheese.
Lower the heat before adding cheese to prevent burning. Let it melt completely, then chop and mix aggressively. The result should be a cohesive, cheesy beef mixture that holds together. Consequently, this makes it perfect for wrapping and creates that authentic chopped cheese experience.
Assembly Techniques and Crunchwrap Construction
Choosing the Right Tortillas and Setup
Large flour tortillas work best for crunchwraps because they provide enough surface area for proper folding. The tortillas should be fresh and pliable. However, if they seem stiff, warm them briefly in the microwave or on a dry skillet to make folding easier.
Set up an assembly station with all components within reach. This includes the warm chopped cheese filling, fresh toppings, and mayo or sauce. Working quickly while the filling is warm ensures the best texture and prevents the tortilla from getting soggy.
Strategic Layering for Success
Proper layering prevents soggy crunchwraps and ensures even distribution of flavors. Start with a spread of mayo or burger sauce on one half of the tortilla. This creates a moisture barrier and adds creamy richness. Next, add the warm chopped cheese filling in an even layer.
Top with crisp lettuce and diced tomatoes or pickles for freshness and crunch. The cool toppings provide essential contrast to the warm, rich filling. Finally, fold the tortilla tightly to create a secure package that won’t fall apart during cooking.
Achieving the Perfect Crispy Exterior
The final cooking step transforms these into true crunchwraps with golden, crispy exteriors. Use butter or oil in a skillet over medium heat. Toast each crunchwrap for 2-3 minutes per side until golden brown and crispy. Press down gently with a spatula to ensure even browning and that signature “smash” effect.
Don’t use high heat because it will burn the tortilla before the filling heats through. Medium heat allows the exterior to crisp while warming the interior perfectly. The result should be golden brown, crispy, and absolutely irresistible.
Ingredients
For the Chopped Cheese Filling:
- 1 lb ground beef (80/20 preferred)
- 1 tablespoon neutral oil (avocado or canola)
- 1 small yellow onion, finely diced
- 1 teaspoon garlic powder
- 1 teaspoon smoked paprika
- 1 tablespoon Worcestershire sauce
- Salt and pepper to taste
- 1 cup shredded cheddar cheese (or American cheese slices)
For the Crunchwraps:
- 4 large flour tortillas
- 2 tablespoons mayonnaise or burger sauce (optional)
- 2 cups shredded iceberg lettuce
- 1 large tomato, diced (or pickles for NY-style vibe)
- Butter or oil for cooking
Detailed Step-by-Step Instructions
Step 1: Sauté the Onions to Golden Perfection
Heat 1 tablespoon of neutral oil in a large skillet over medium heat. The oil should shimmer but not smoke when ready. Add the finely diced yellow onion to the hot oil and stir to coat evenly. Cook the onions, stirring occasionally, for 5-6 minutes until they become golden and slightly caramelized.
The onions are ready when they’re soft, translucent, and have developed a light golden color. They should smell sweet and fragrant. Don’t rush this step because properly caramelized onions add incredible depth of flavor to your crunchwraps. Once done, remove the onions from the skillet and set aside in a bowl.
Step 2: Cook the Ground Beef to Perfection

In the same skillet over medium-high heat, add the ground beef and break it up immediately with a spatula. The beef should sizzle when it hits the pan. Break up any large chunks and spread the meat in an even layer to promote proper browning.
Season the beef with garlic powder, smoked paprika, salt, and pepper while it cooks. Continue breaking up the meat and stirring occasionally for 6-8 minutes until it’s completely browned and cooked through. The beef should be nicely caramelized with no pink remaining. Stir in the Worcestershire sauce and return the caramelized onions to the pan, mixing everything together thoroughly.
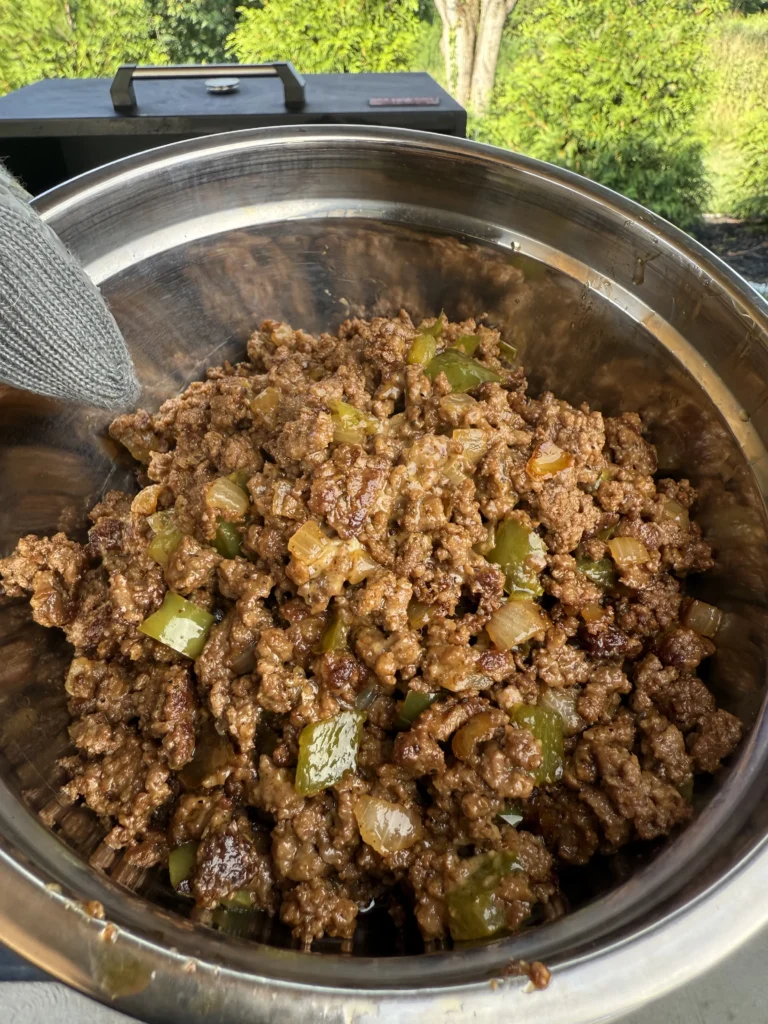
Step 3: Add Cheese and Create the “Chopped” Texture
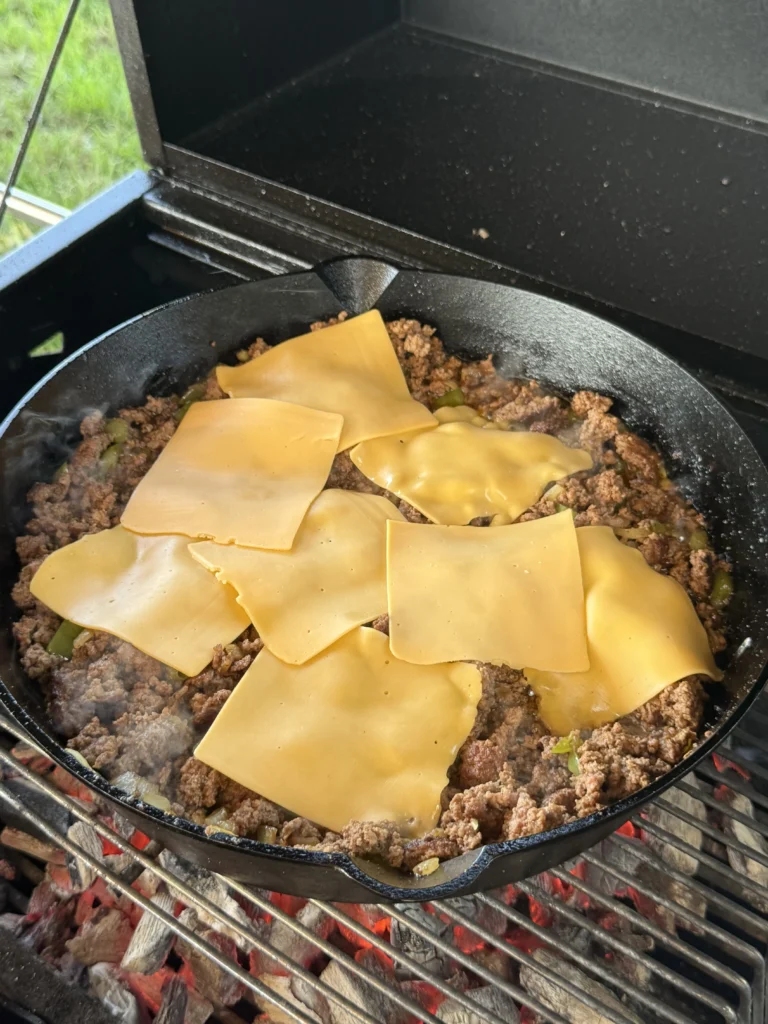
Lower the heat to medium-low to prevent the cheese from burning. Sprinkle the shredded cheddar cheese evenly over the beef and onion mixture. If using American cheese slices, tear them into pieces and distribute them over the meat. Allow the cheese to melt completely, which takes about 2-3 minutes.
Once the cheese is fully melted, use your spatula to “chop” everything together aggressively. This signature technique creates the chunky, cohesive mixture that gives chopped cheese its name and texture. Keep chopping and mixing until you have a uniform, cheesy beef mixture that holds together well. Taste and adjust seasoning as needed with salt and pepper.
Step 4: Assemble the Crunchwraps
Lay out the large flour tortillas on a clean work surface. If they seem stiff, warm them briefly in the microwave for 10-15 seconds to make them more pliable. Spread a thin layer of mayonnaise or burger sauce on one half of each tortilla, leaving about an inch border around the edges.
Divide the warm chopped cheese filling evenly among the tortillas, placing it on the half with the mayo. Spread the filling in an even layer, being careful not to overfill, which would make folding difficult. Top the filling with shredded lettuce and diced tomatoes or pickles, distributing them evenly for consistent flavor in every bite.
Step 5: Fold and Seal the Crunchwraps
Carefully fold each tortilla in half over the filling, bringing the empty half over to cover the filled half completely. Press down gently along the edges to seal the crunchwrap, ensuring no filling escapes during cooking. The tortilla should form a half-moon shape that’s tightly sealed.
If the tortilla tears or won’t stay closed, you may have overfilled it. Simply remove some filling and try again. The goal is a secure package that won’t fall apart when you flip it during cooking. Repeat with all four crunchwraps.
Step 6: Cook to Golden, Crispy Perfection
Heat a large skillet or griddle over medium heat and add a small amount of butter or oil. The pan is ready when the butter melts and begins to sizzle gently. Carefully place the filled crunchwraps in the pan, seam-side down first to help seal them closed.
Cook for 2-3 minutes per side, pressing down gently with a spatula to ensure even browning and that signature “smash” effect that makes the exterior extra crispy. The crunchwraps are done when both sides are golden brown and crispy, and the filling is heated through. The exterior should be crunchy while the interior remains warm and gooey. Serve immediately while hot and crispy for the best experience.
Chopped Cheese Crunchwraps – TikTok’s Latest Food Obsession
Ingredients
- 1 lb ground beef 80/20 preferred
- 1 tablespoon neutral oil
- 1 small yellow onion finely diced
- 1 teaspoon garlic powder
- 1 teaspoon smoked paprika
- 1 tablespoon Worcestershire sauce
- Salt and pepper to taste
- 1 cup shredded cheddar cheese
- 4 large flour tortillas
- 2 tablespoons mayonnaise or burger sauce
- 2 cups shredded iceberg lettuce
- 1 large tomato diced
- Butter or oil for cooking
Instructions
- Sauté diced onions in oil over medium heat for 5-6 minutes until golden and caramelized. Remove and set aside.
- Cook ground beef in same skillet, breaking up with spatula. Season with garlic powder, paprika, salt, and pepper. Cook until browned, then add Worcestershire and return onions to pan.
- Lower heat and top beef with cheese. Let melt, then “chop” everything together with spatula to create signature chopped cheese texture.
- Spread mayo on half of each tortilla. Add chopped cheese filling, lettuce, and tomatoes. Fold tortillas in half and seal edges.
- Cook crunchwraps in buttered skillet over medium heat for 2-3 minutes per side until golden and crispy. Press down gently while cooking.
- Serve immediately while hot and crispy.
Notes
Use medium heat to prevent burning while ensuring crispy exterior
Warm tortillas briefly if they seem stiff for easier folding
Best served immediately for optimal crispiness
Conclusion
These Viral Chopped Cheese Crunchwraps represent the perfect fusion of New York bodega flavors and portable convenience that has made them a TikTok sensation. The combination of seasoned ground beef, caramelized onions, melted cheese, and fresh toppings wrapped in a golden, crispy tortilla creates an irresistible handheld meal that satisfies every craving.
Want more recipes like this? Check out all of our grilling recipes here for more steak, seafood, and BBQ favorites that are perfect for your next cookout.
Looking for Something specific? Click a category below!
ITEMS USED IN THIS RECIPE
Hasty Bake Charcoal Grill and Smoker
Upgrade Your Meat Game with Grill Nation x Linz Heritage Angus
If you really want to take your grilling and cooking to the next level, you need to check out our collaboration with Linz Heritage Angus. We’ve partnered with them to bring you some of the best beef you can get your hands on.
Linz Heritage Angus isn’t your typical grocery store meat. These guys are the real deal – they raise their cattle the right way, and you can taste the difference in every bite. We’re talking about beef that’s been dry-aged to perfection, with marbling that makes your mouth water just looking at it.
Check out these premium cuts that’ll change how you think about beef:
- Premium Ribeye Steaks – Perfect for special occasions
- Dry-Aged Beef Selection – Take your grilling to the next level
- Ground Beef & Burger Blends – The foundation of great BBQ
Use code GN15 at checkout for 15% off your first order. Tru