The Best Grilled Spatchcock Chicken
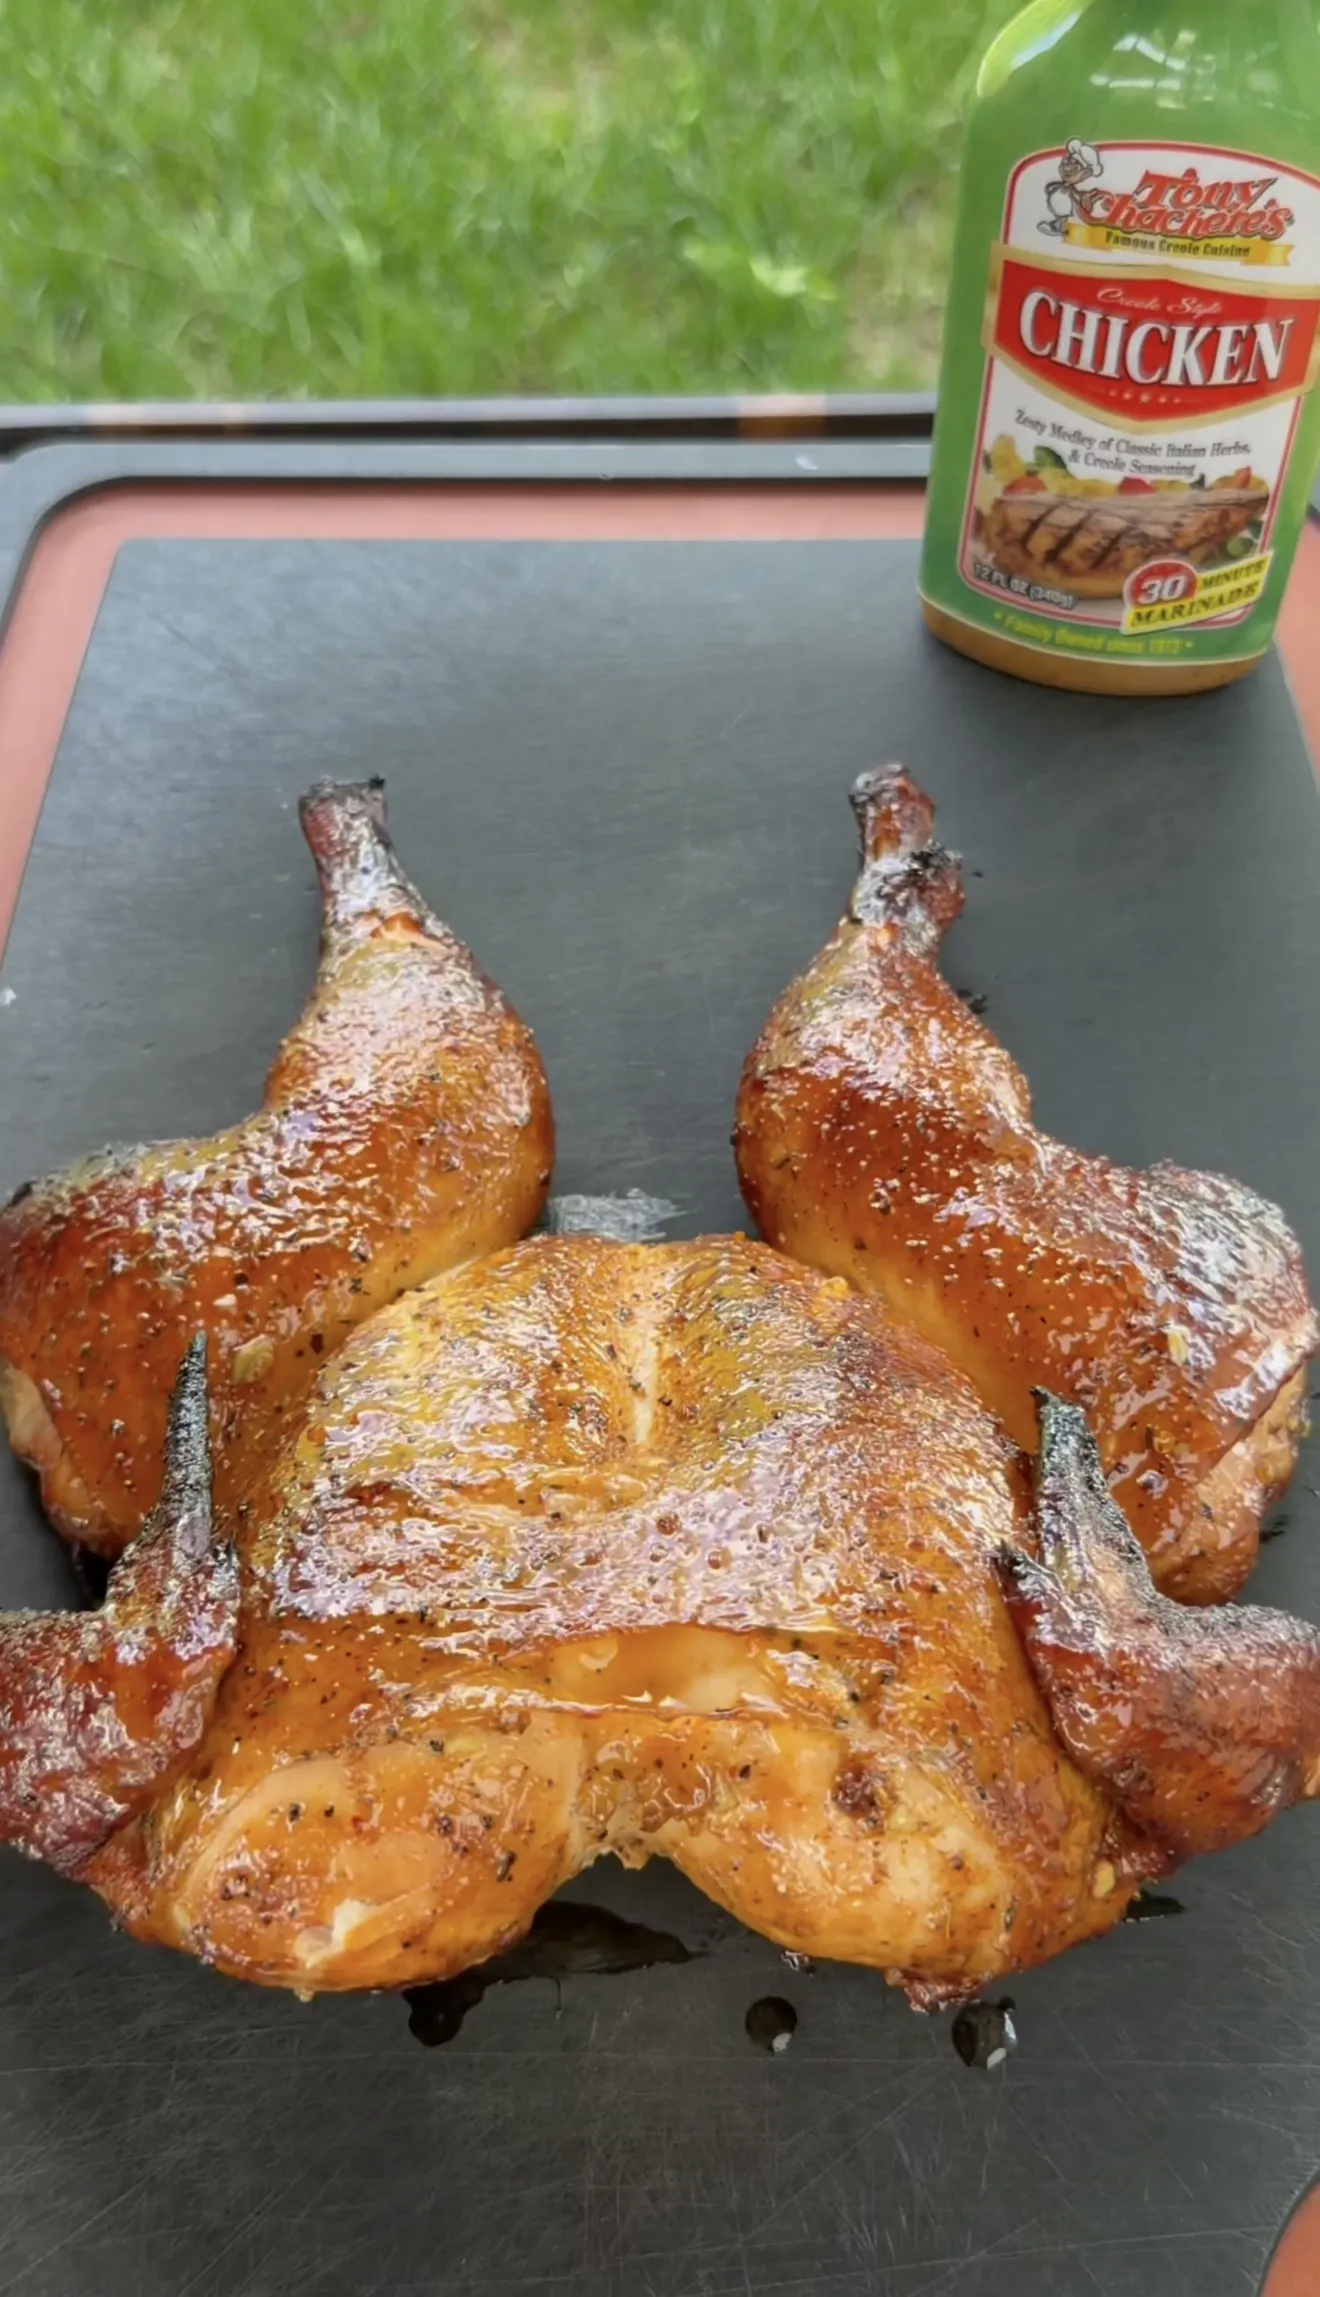
Grilled spatchcock chicken with crispy golden skin, juicy breast meat, and tender dark meat cooked in two stages on a pellet grill, charcoal grill, or gas grill. The bird gets marinated in Tony Chachere’s Chicken Marinade for 4 to 12 hours, then patted dry and seasoned with Tony Chachere’s Original Creole Seasoning, smoked paprika, garlic powder, and black pepper before hitting the grill. The two-stage method starts low at 275°F to render fat and build smoke flavor, then bumps to 350°F to crisp the skin and finish the cook. A 4 to 5 pound chicken takes 50 to 70 minutes total and serves 4 to 6.
How to Spatchcock a Chicken for the Grill
Spatchcocking means removing the chicken’s backbone with kitchen shears so the bird lays completely flat. This exposes more skin to heat and lets the breast and thigh cook more evenly than a whole upright bird. The technique takes about 2 minutes once you know where to cut.
Cutting Out the Backbone
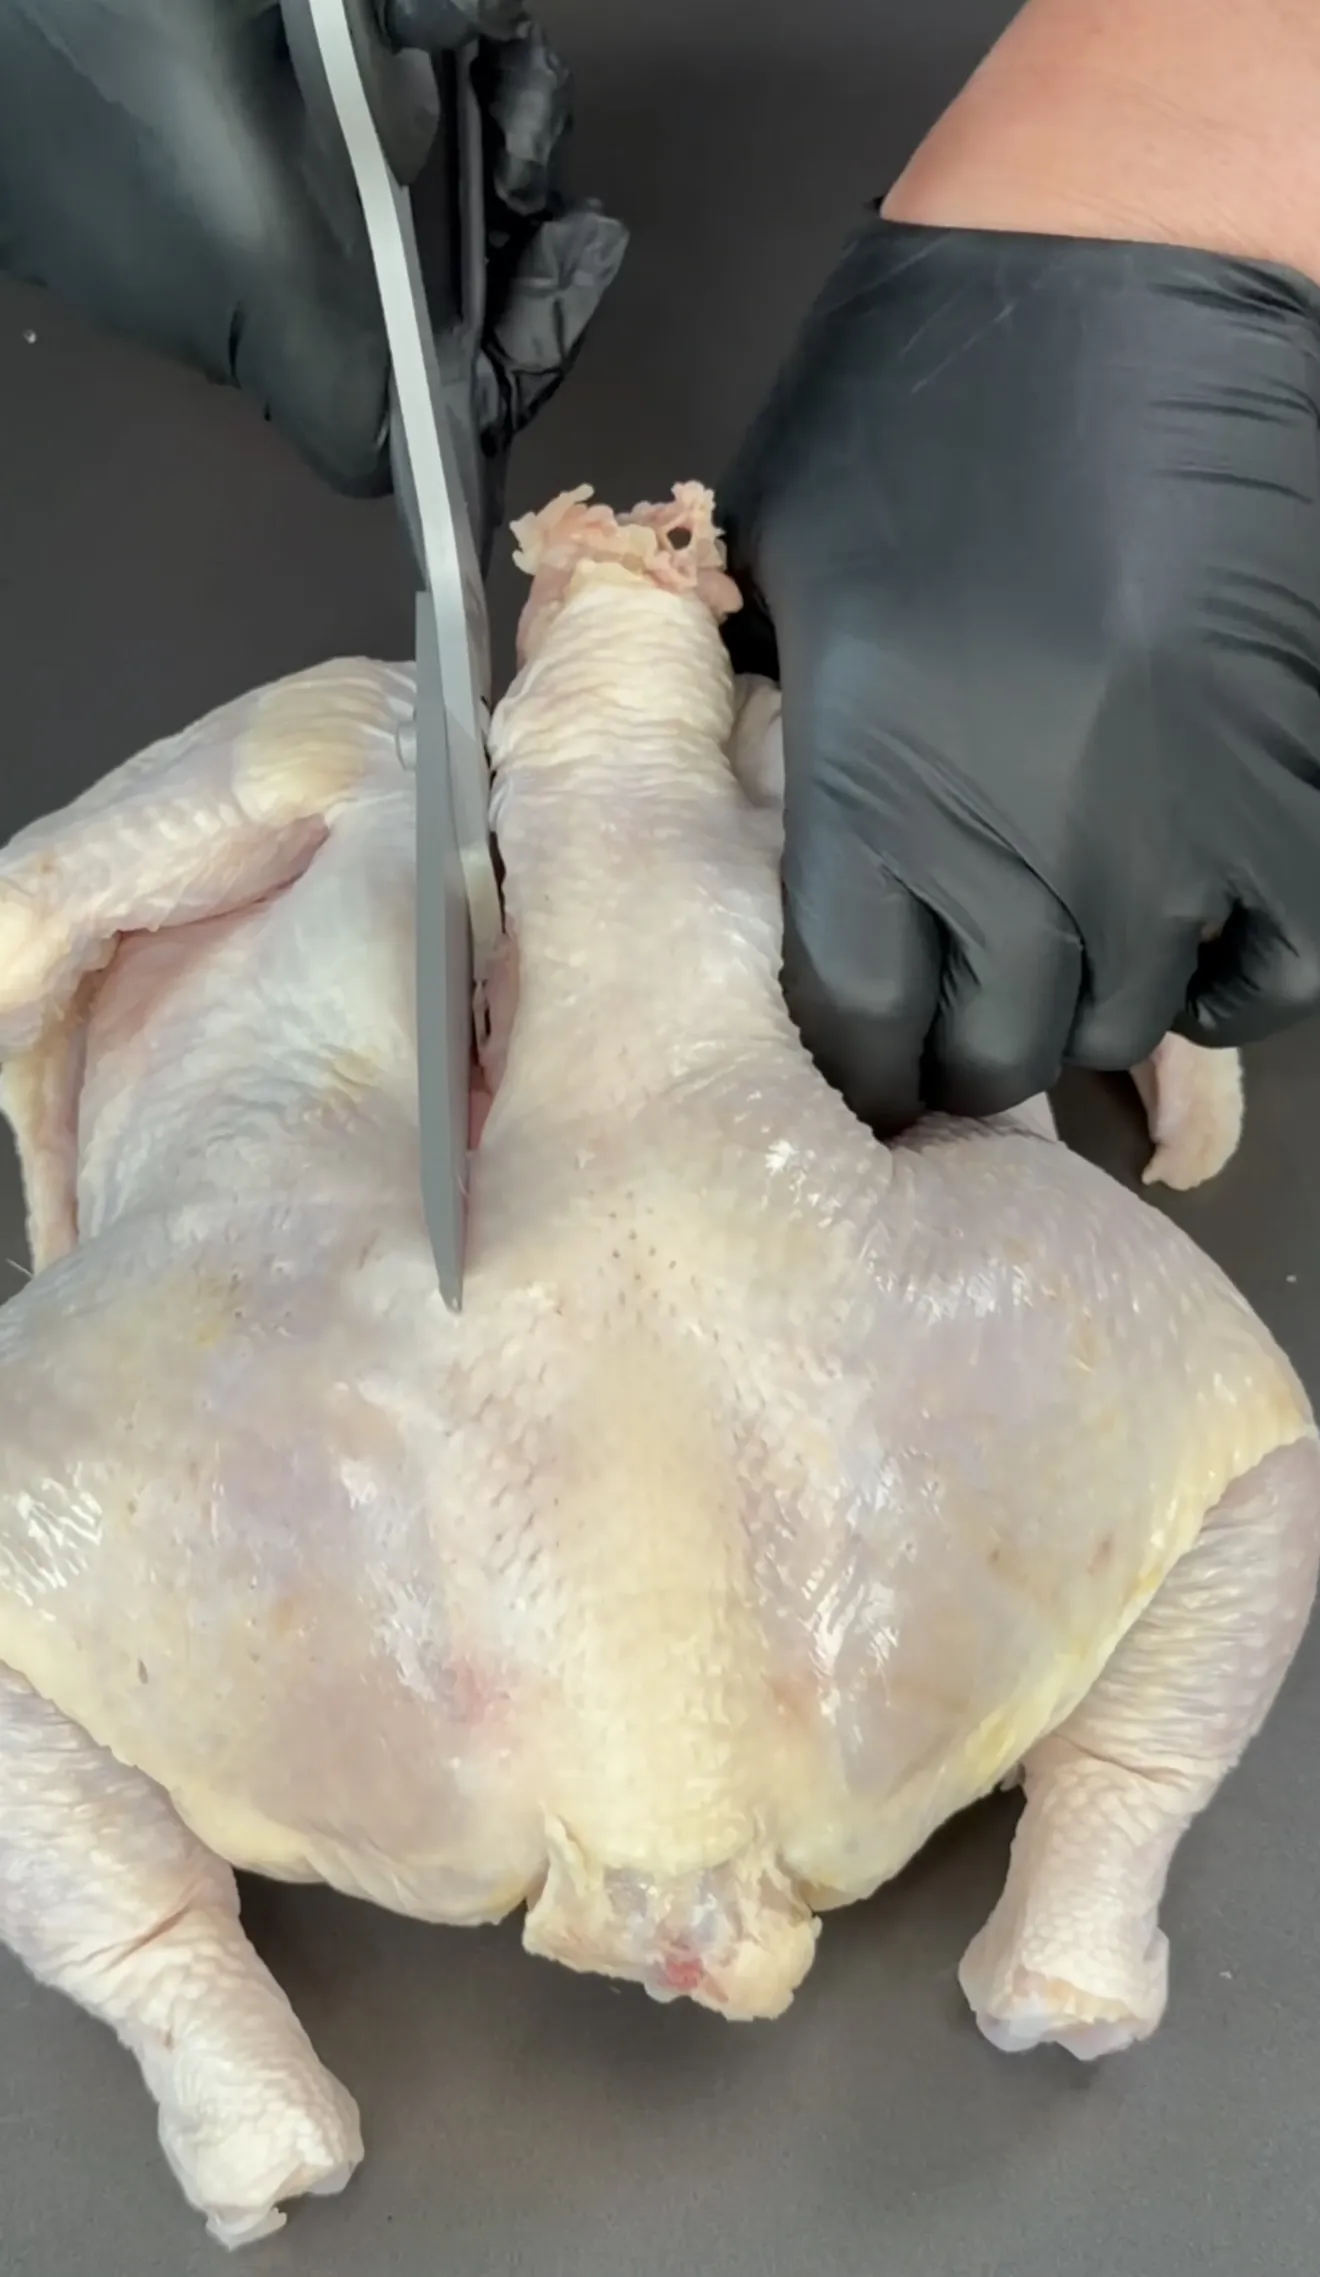
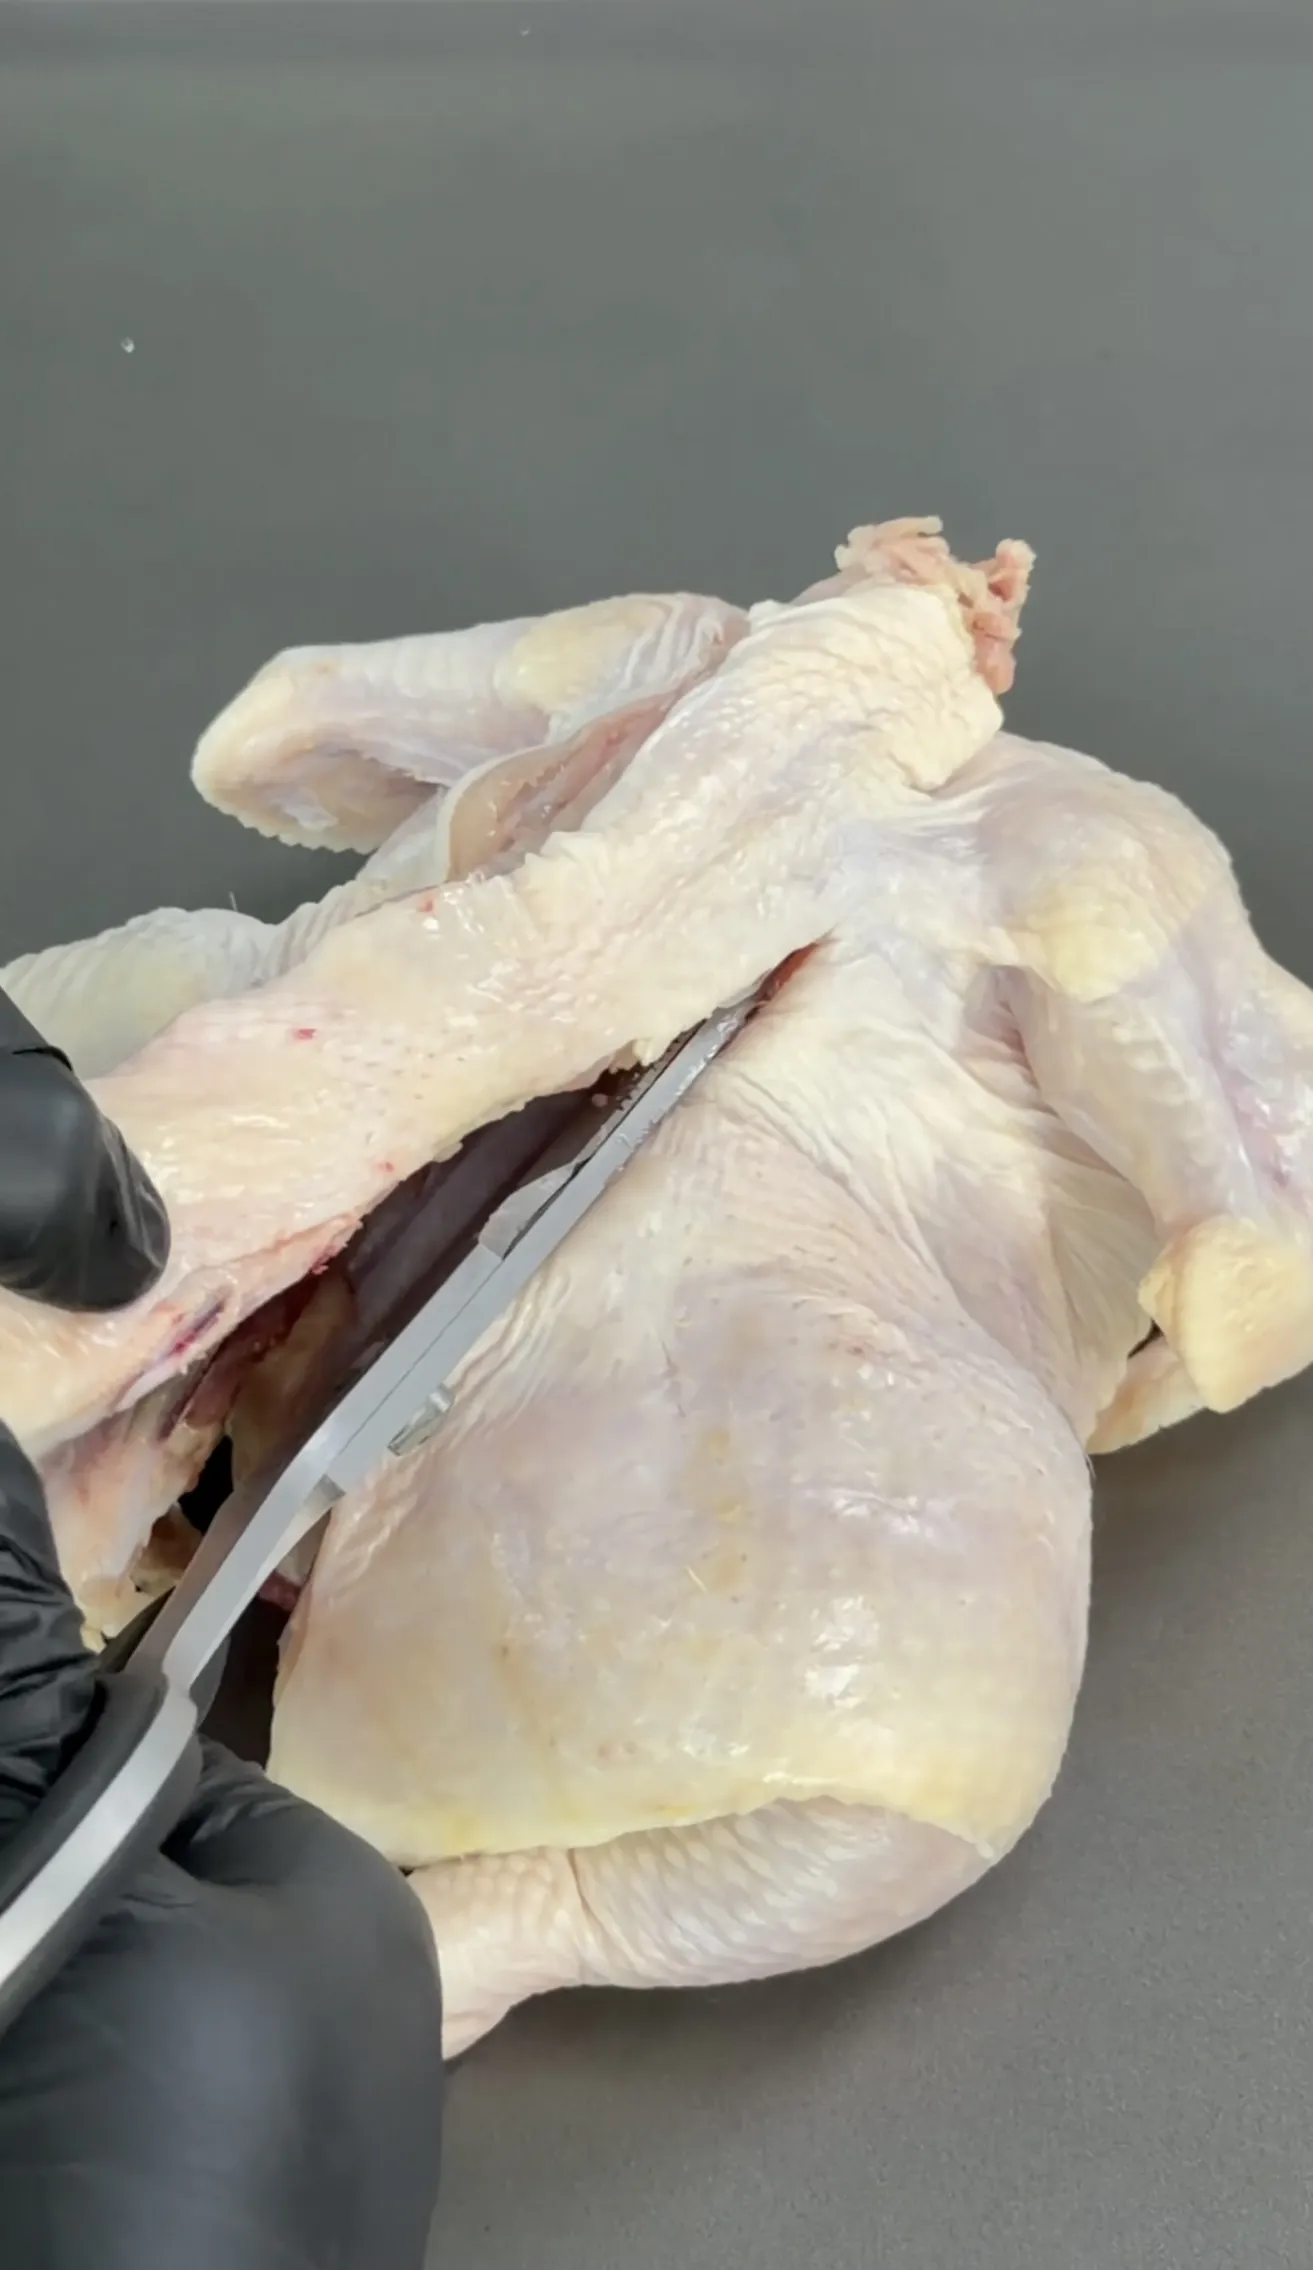
Place the chicken breast-side down on a large cutting board. Starting at the tail end where the bones are softer, use sharp kitchen shears to cut along one side of the backbone from bottom to top. Repeat on the other side and remove the backbone completely. Save the backbone for stock if you want.
Flattening the Bird
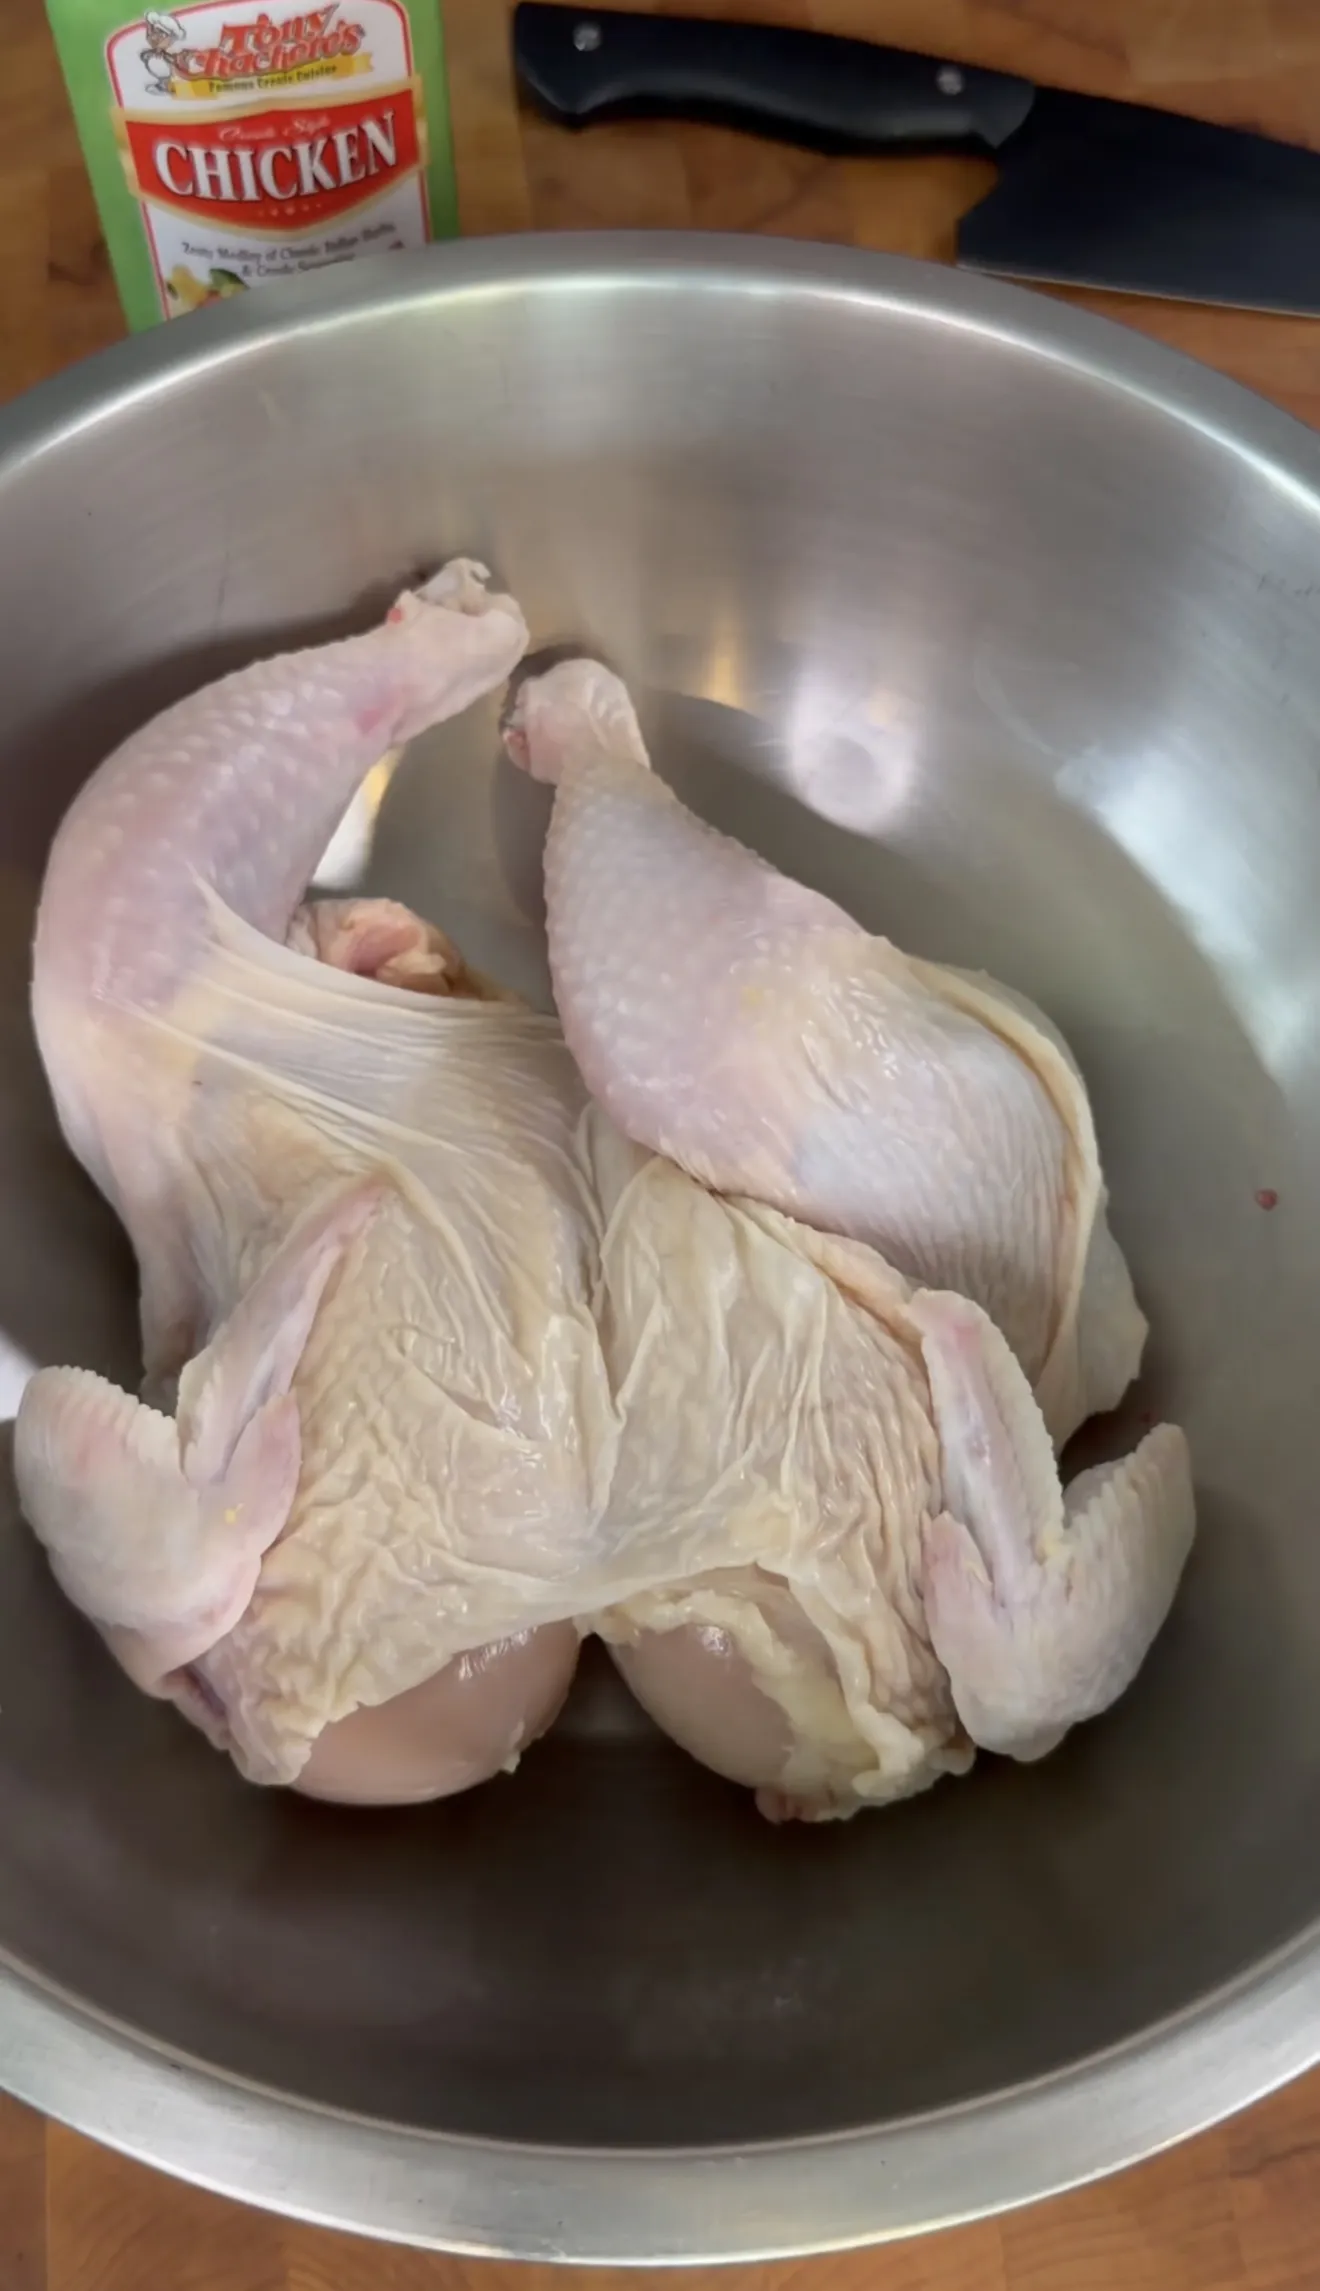
Flip the chicken over so the breast faces up. Use both palms to press firmly on the center of the breastbone until you hear a crack and the bird lays flat. You should be able to set it on the cutting board and have it stay mostly level without curling back up. Trim any excess skin or loose fat near the cavity. This reduces flare-ups on the grill and gives you a cleaner presentation.
Why Kitchen Shears Beat a Knife
Shears give you leverage that a knife cannot. The curved blades grip the bone while you cut, and starting at the tail end where the cartilage is softest makes the first cut easy. A knife requires more force and slips more easily on wet bone. If you only buy one tool for spatchcocking, get a pair of heavy-duty kitchen shears.
The Tony Chachere’s Marinade and Seasoning Method
This recipe uses a two-step flavor approach that most cooks skip: marinate first with Tony Chachere’s Chicken Marinade, then apply dry seasoning after patting the skin dry. The marinade builds flavor inside the meat. The dry seasoning applied afterward creates the bark, color, and crispy skin on the outside.
Step One: The Marinade
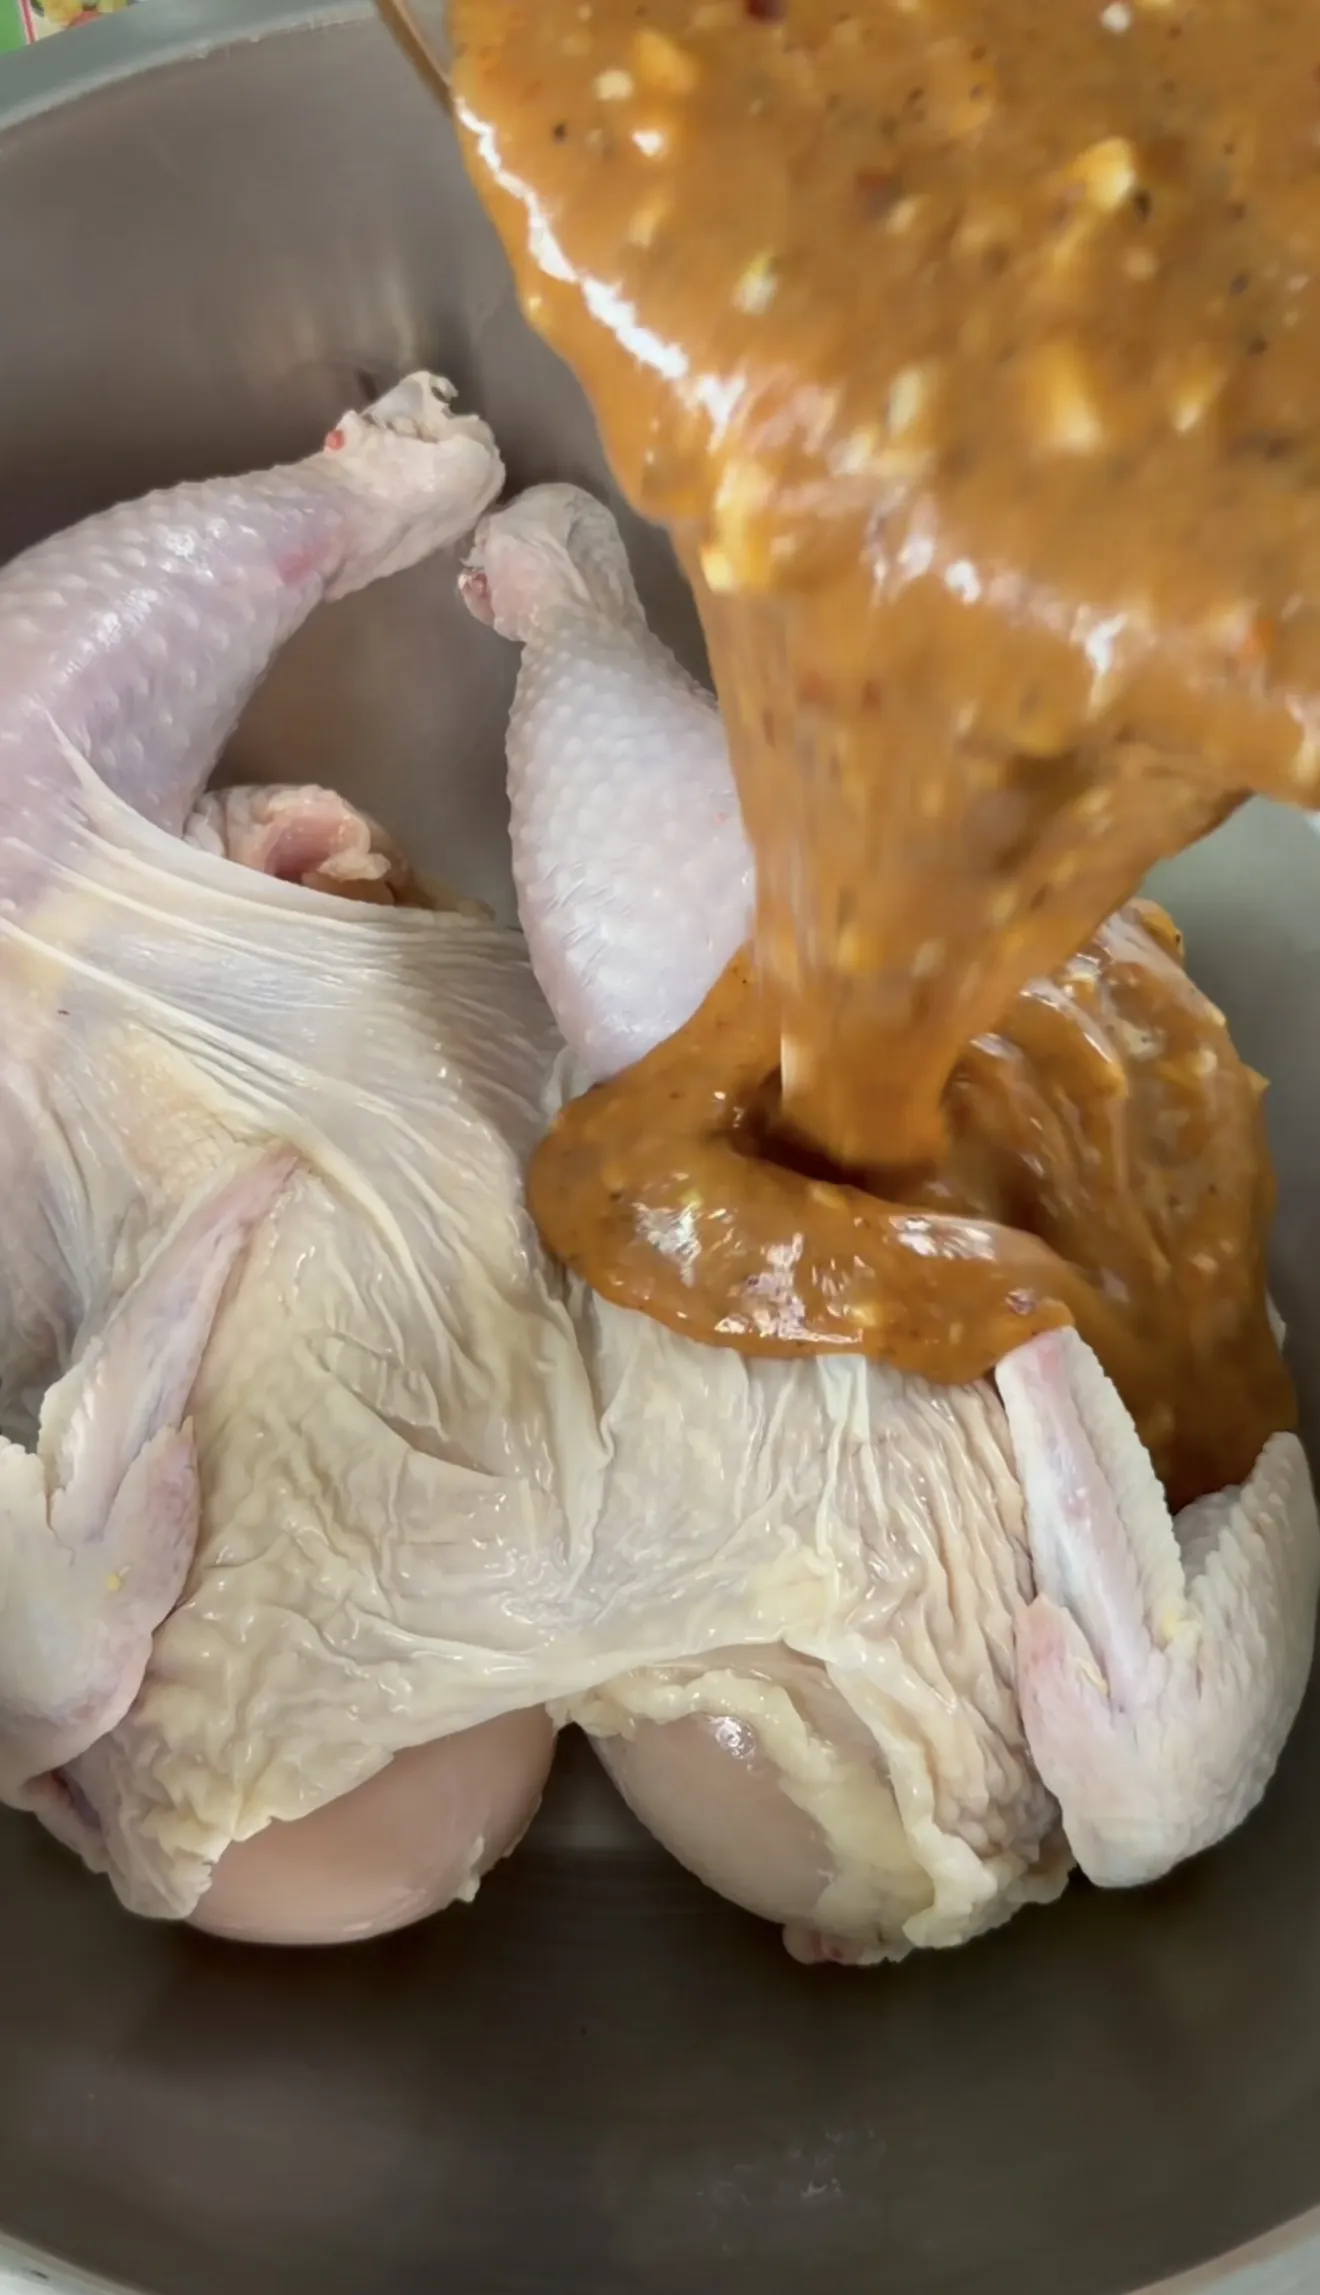
Pat the spatchcocked chicken dry with paper towels before marinating. Apply 1 cup of Tony Chachere’s Chicken Marinade over both sides and under the skin where possible. Refrigerate for 4 to 12 hours. The longer the marinate, the deeper the flavor penetration. If you want to explore more marinade options, check out our best chicken marinade recipe.
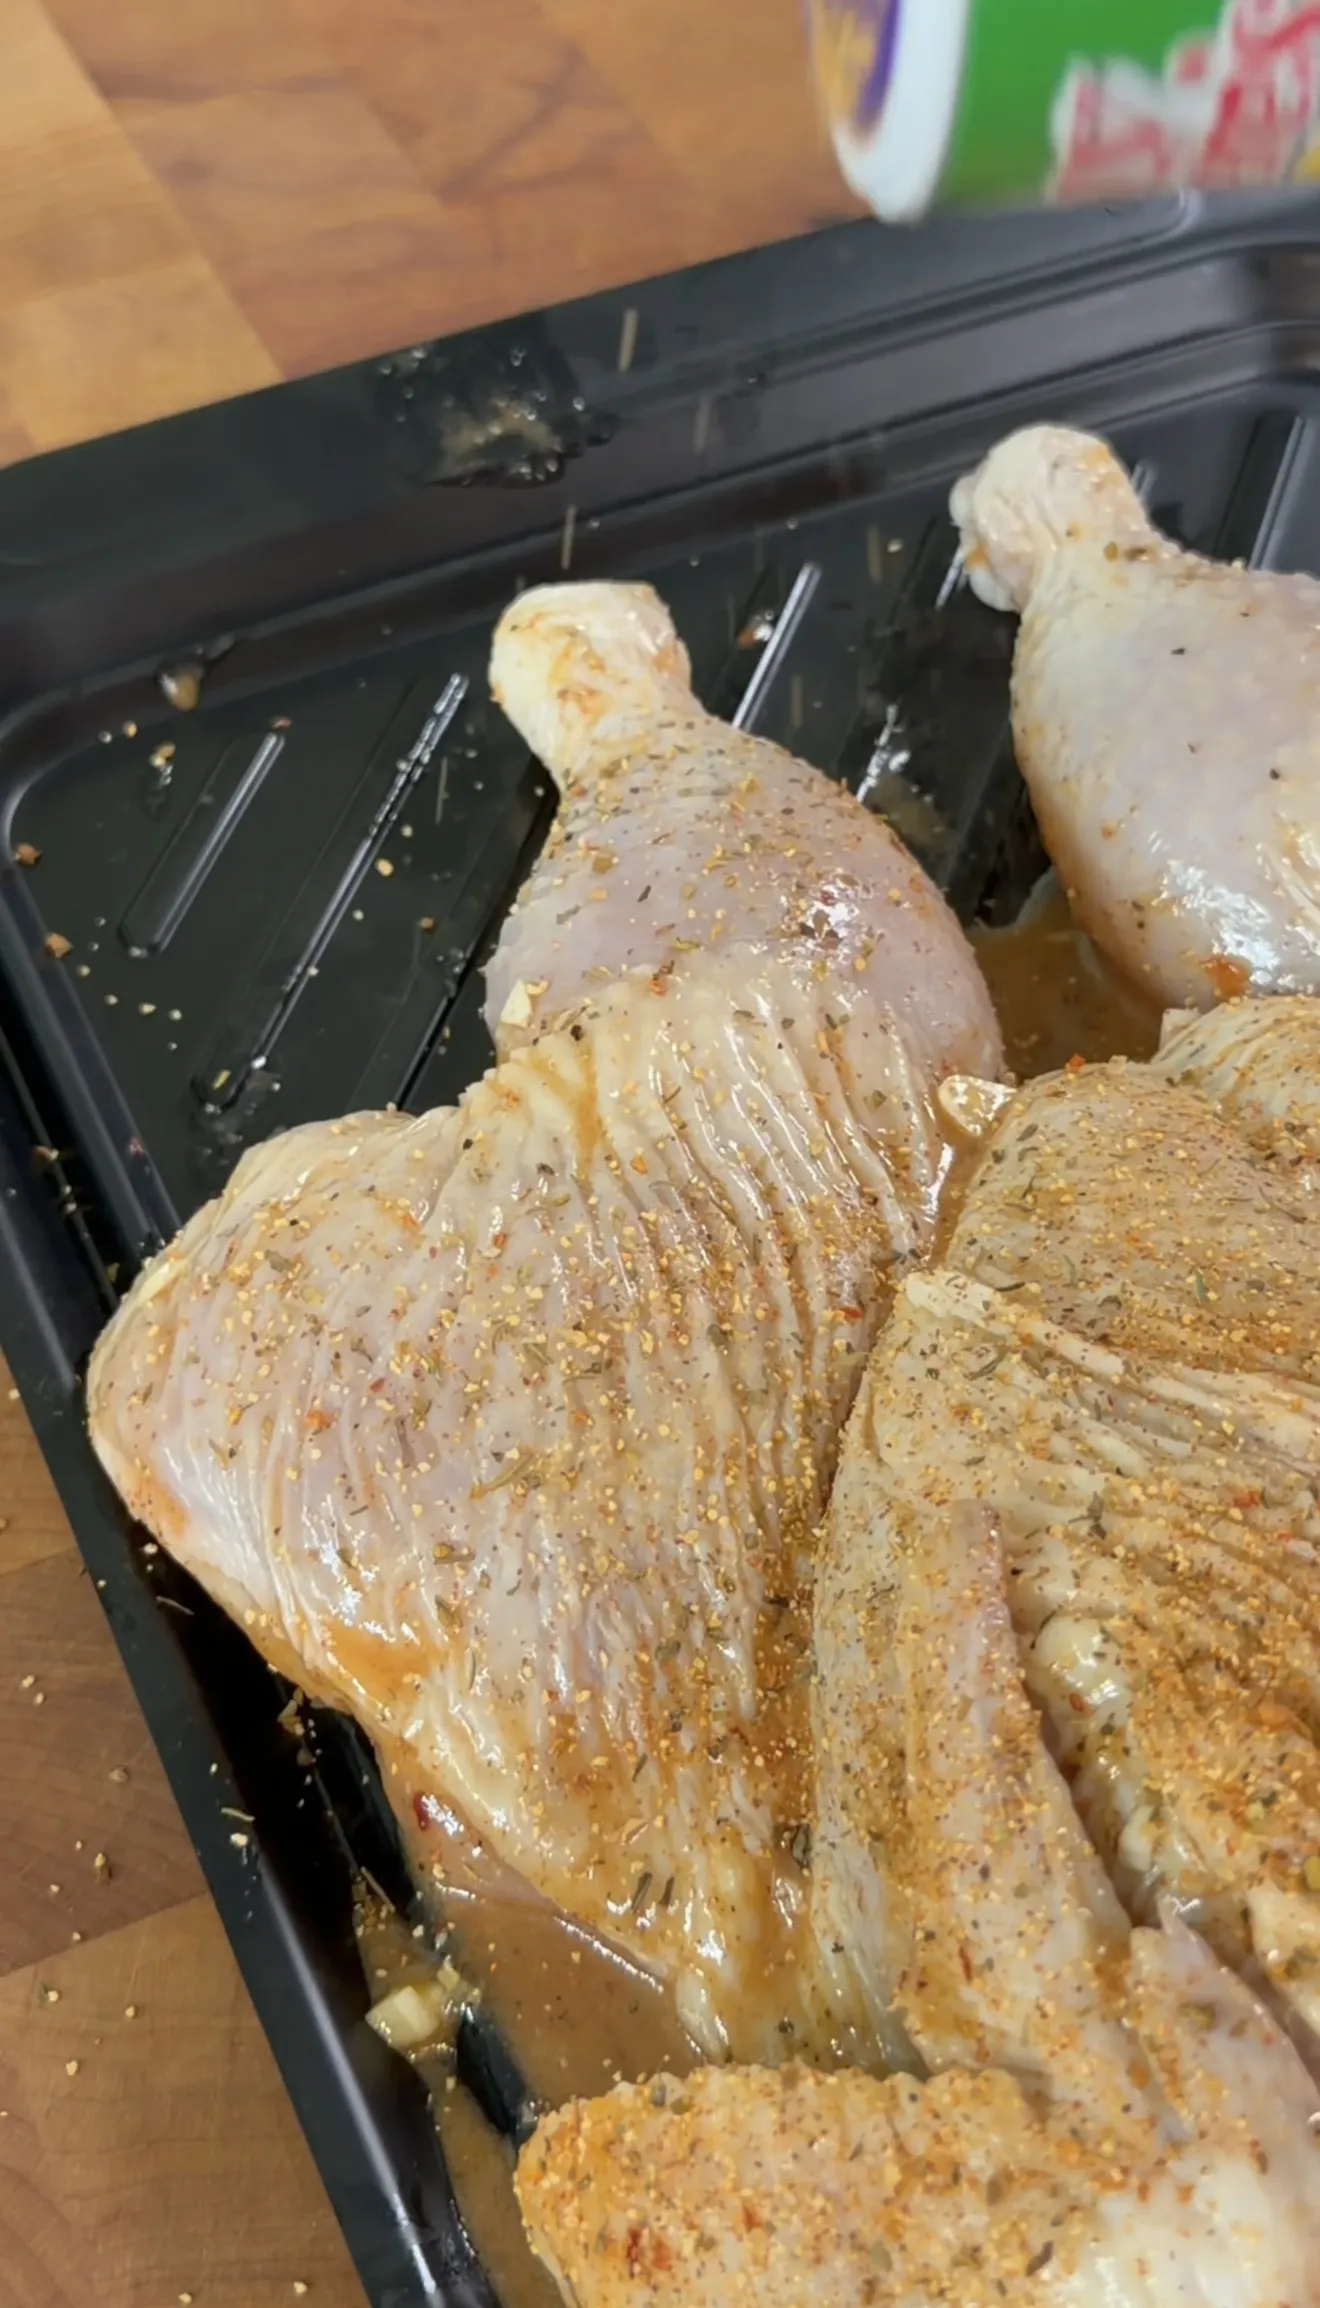
Step Two: Season After Marinating
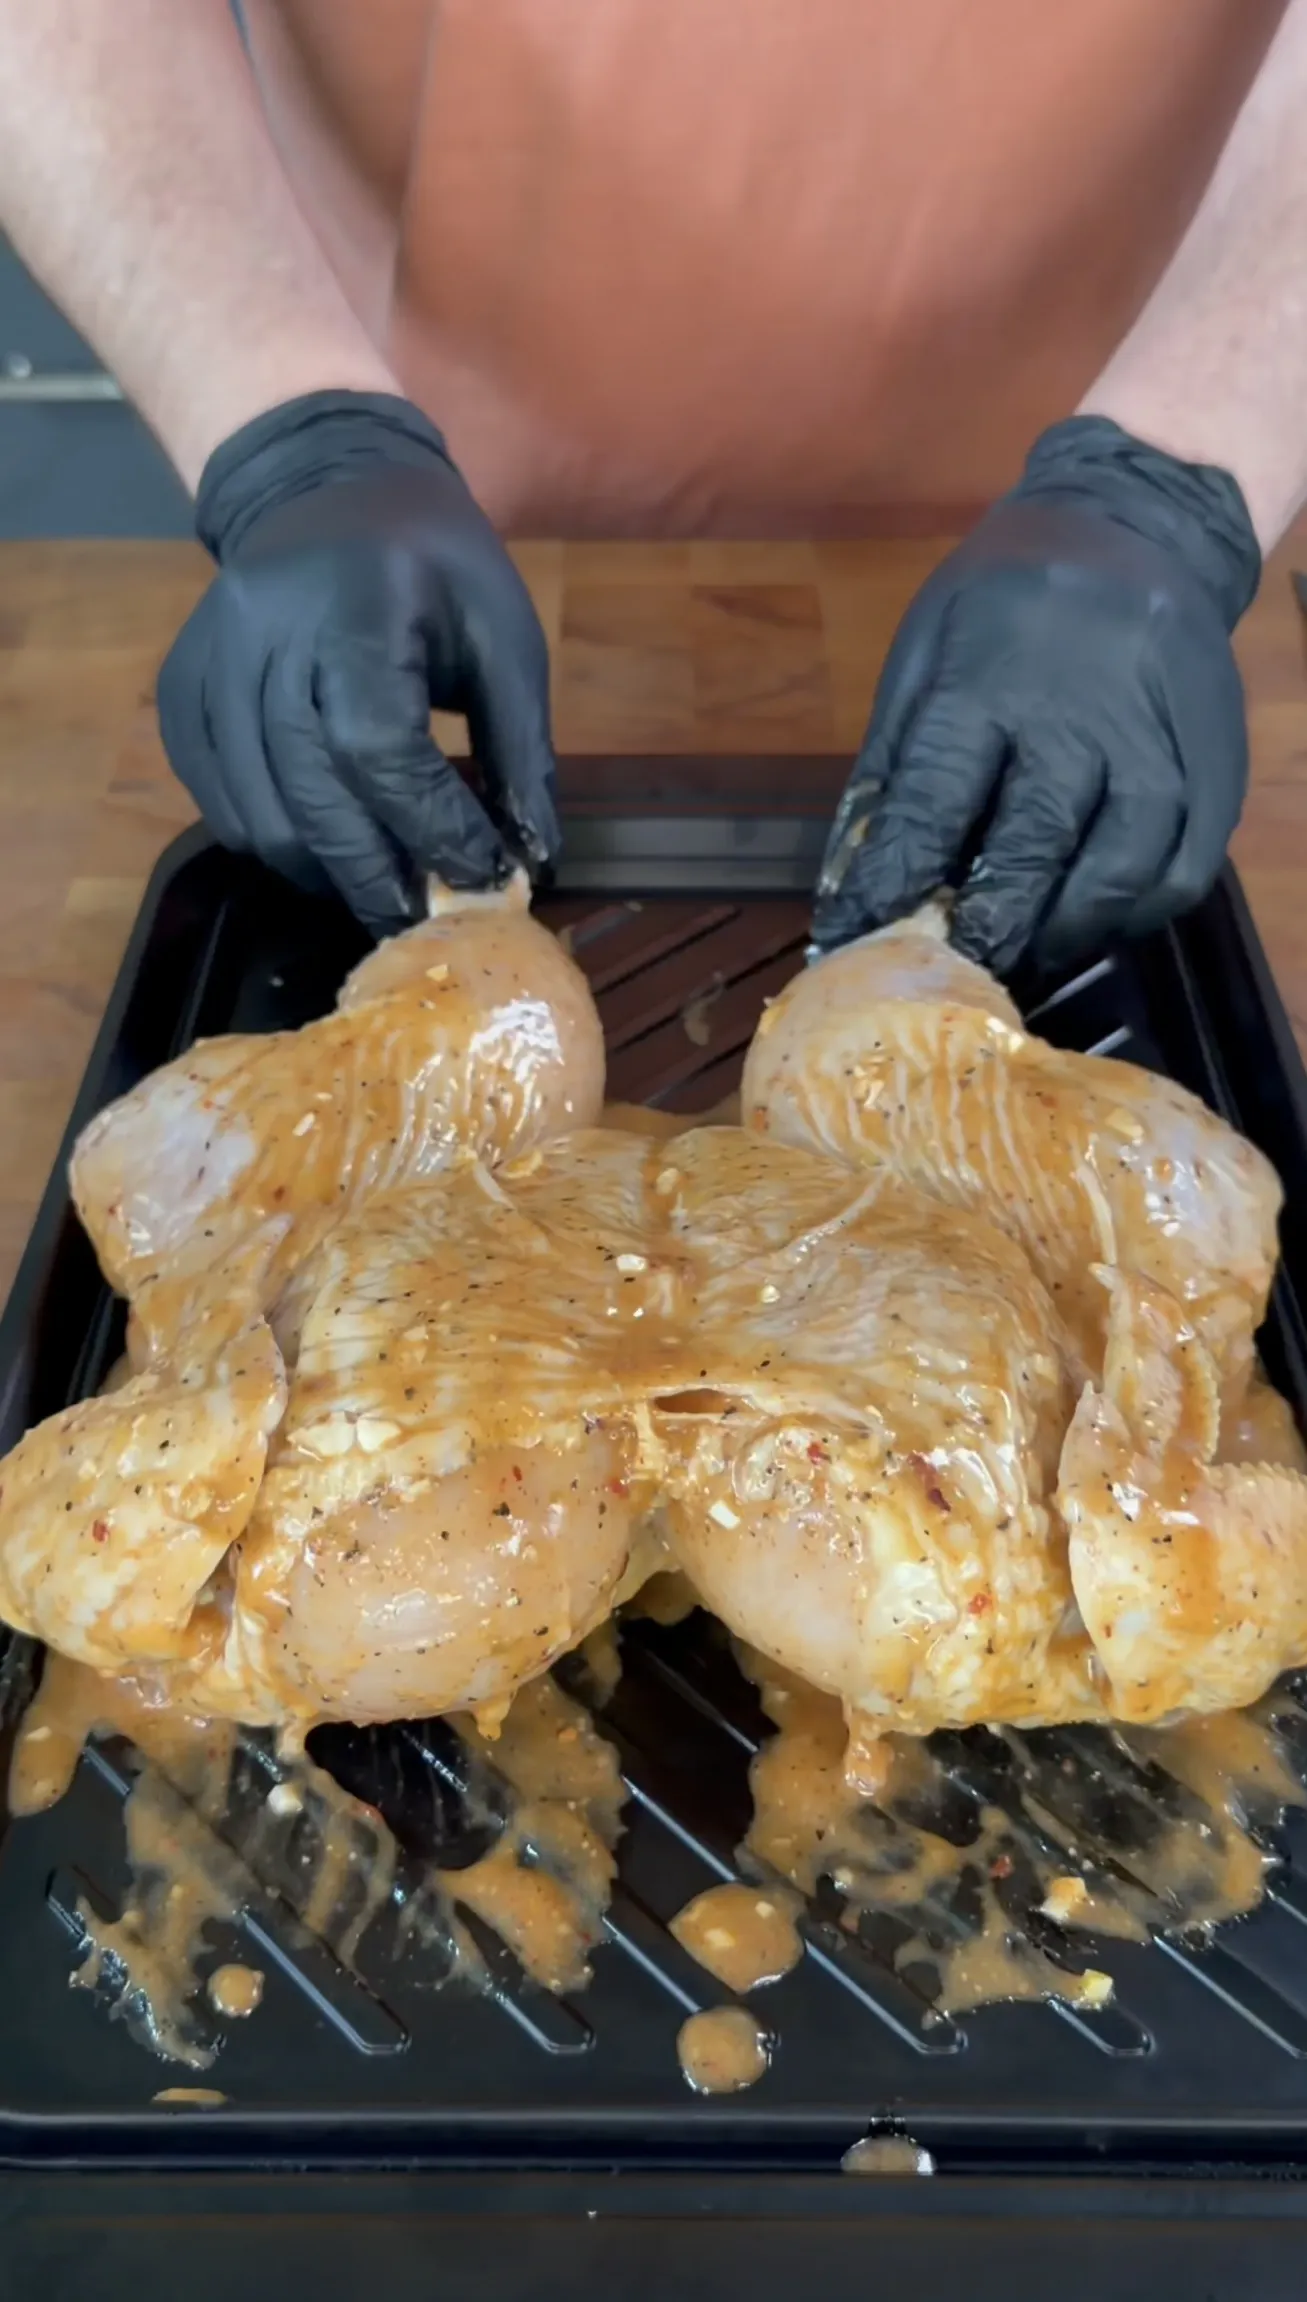
Remove the chicken from the marinade and let the excess drip off. Pat the skin dry again. This second dry is critical because wet skin does not crisp. Then season all sides with Tony Chachere’s Original Creole Seasoning, smoked paprika, garlic powder, and black pepper. Spray lightly with avocado oil.
Should You Season Chicken Before or After Marinating
Season chicken after marinating, not before. The wet marinade builds flavor inside the meat, but a dry seasoning applied after patting the skin dry is what creates the bark, color, and crispy skin on the outside. If you season before marinating, the liquid washes the dry seasoning off the surface and you lose the textural contrast between juicy interior and crunchy exterior.
The Two-Stage Grilling Method (275°F Then 350°F)
Most grilled spatchcock chicken recipes use a single temperature the entire cook. This recipe splits the cook into two stages for better results. The low-and-slow first stage renders fat under the skin and builds smoke flavor. The hot second stage crisps the skin and finishes the cook without drying out the breast.
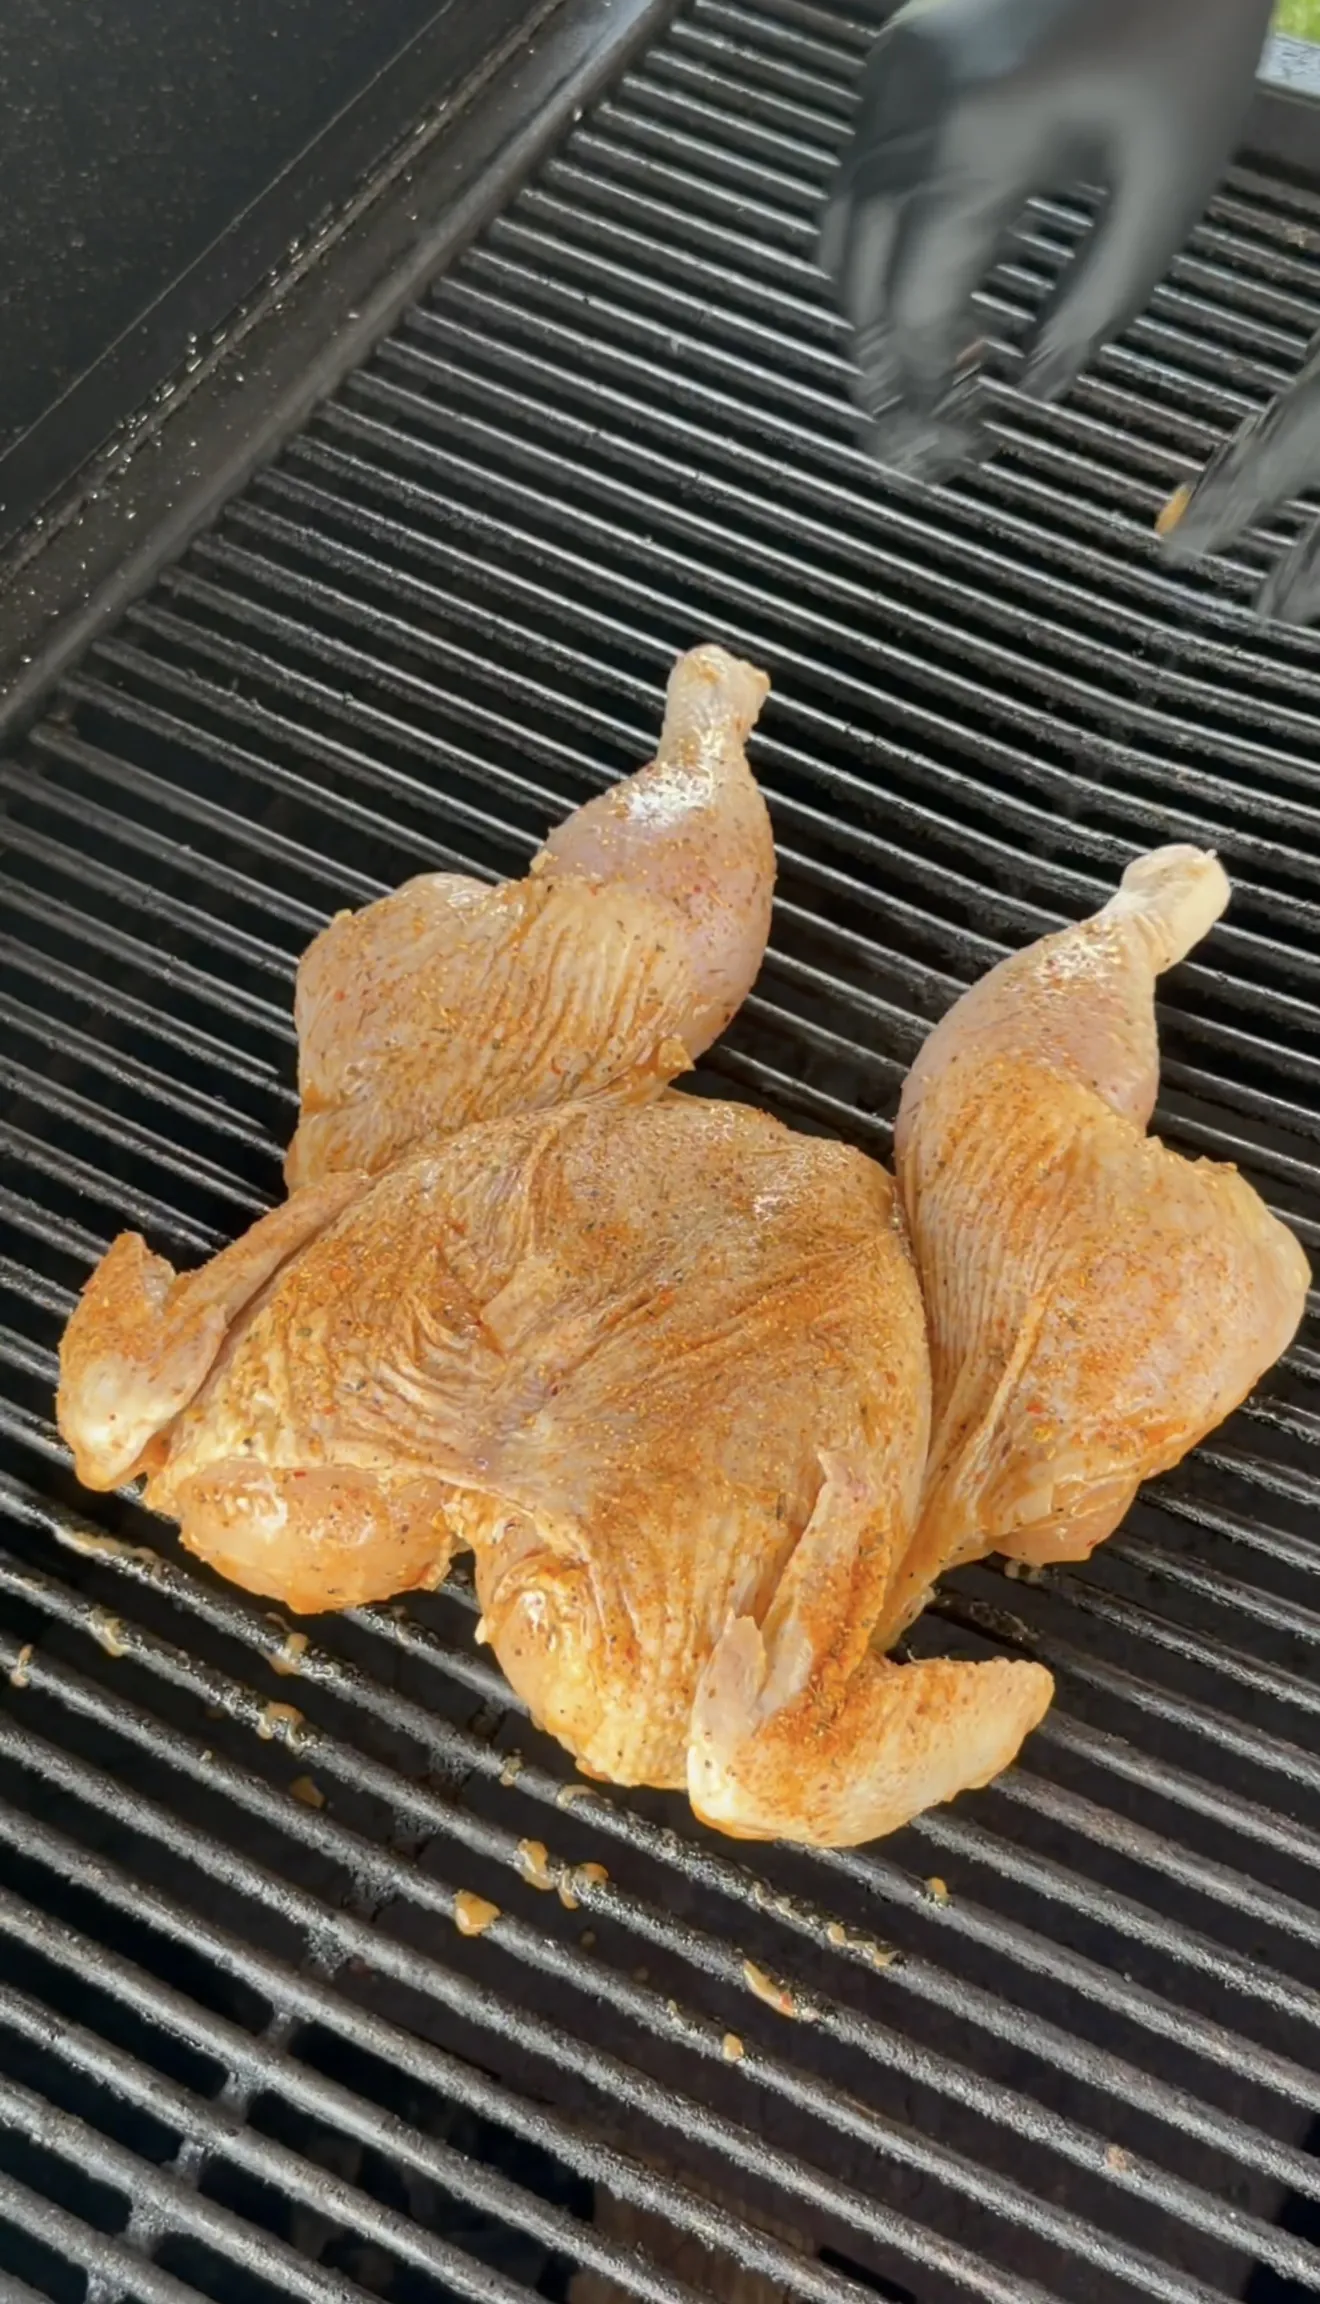
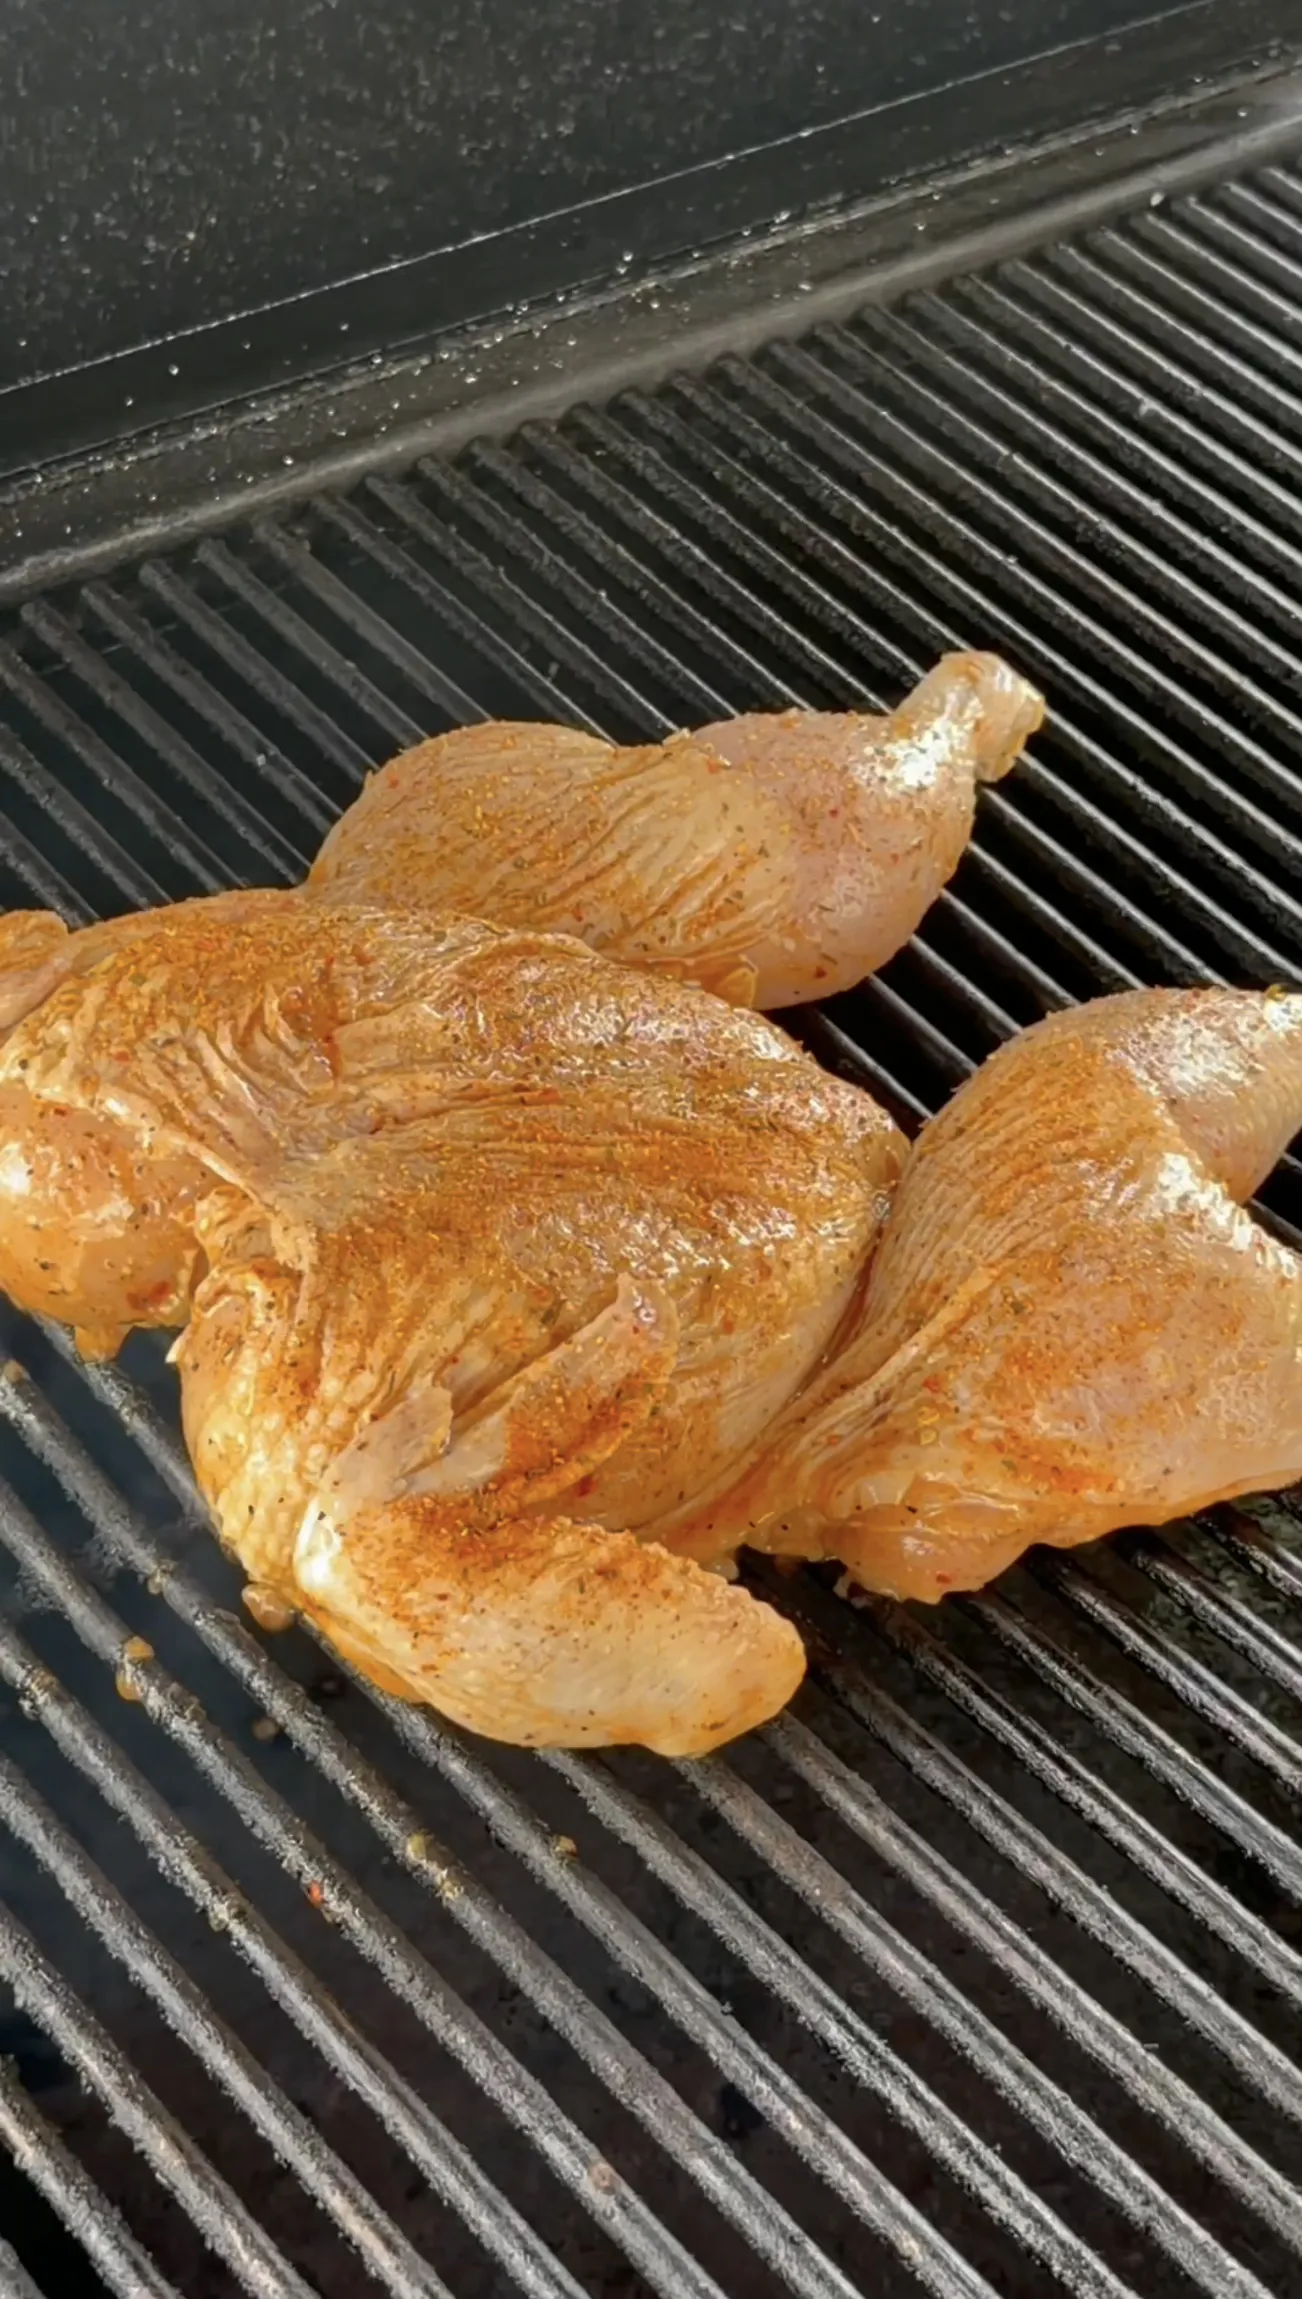
Stage One: Smoke at 275°F
Preheat your pellet grill, charcoal grill, or gas grill to 275°F for indirect cooking. Place the chicken skin-side up on the grates. Cook until the breast reaches 145°F internal temperature. This typically takes 35 to 45 minutes depending on the size of the bird. Position the legs toward the hotter side of the grill because dark meat can handle more heat than the breast.
This lower temperature stage is where the fat renders gently without the skin burning. On a pellet grill or charcoal grill, this is also where the chicken picks up the most smoke flavor. If you enjoy smoked chicken, check out our pellet smoked chicken wings for a similar low-and-slow approach on a smaller cut.
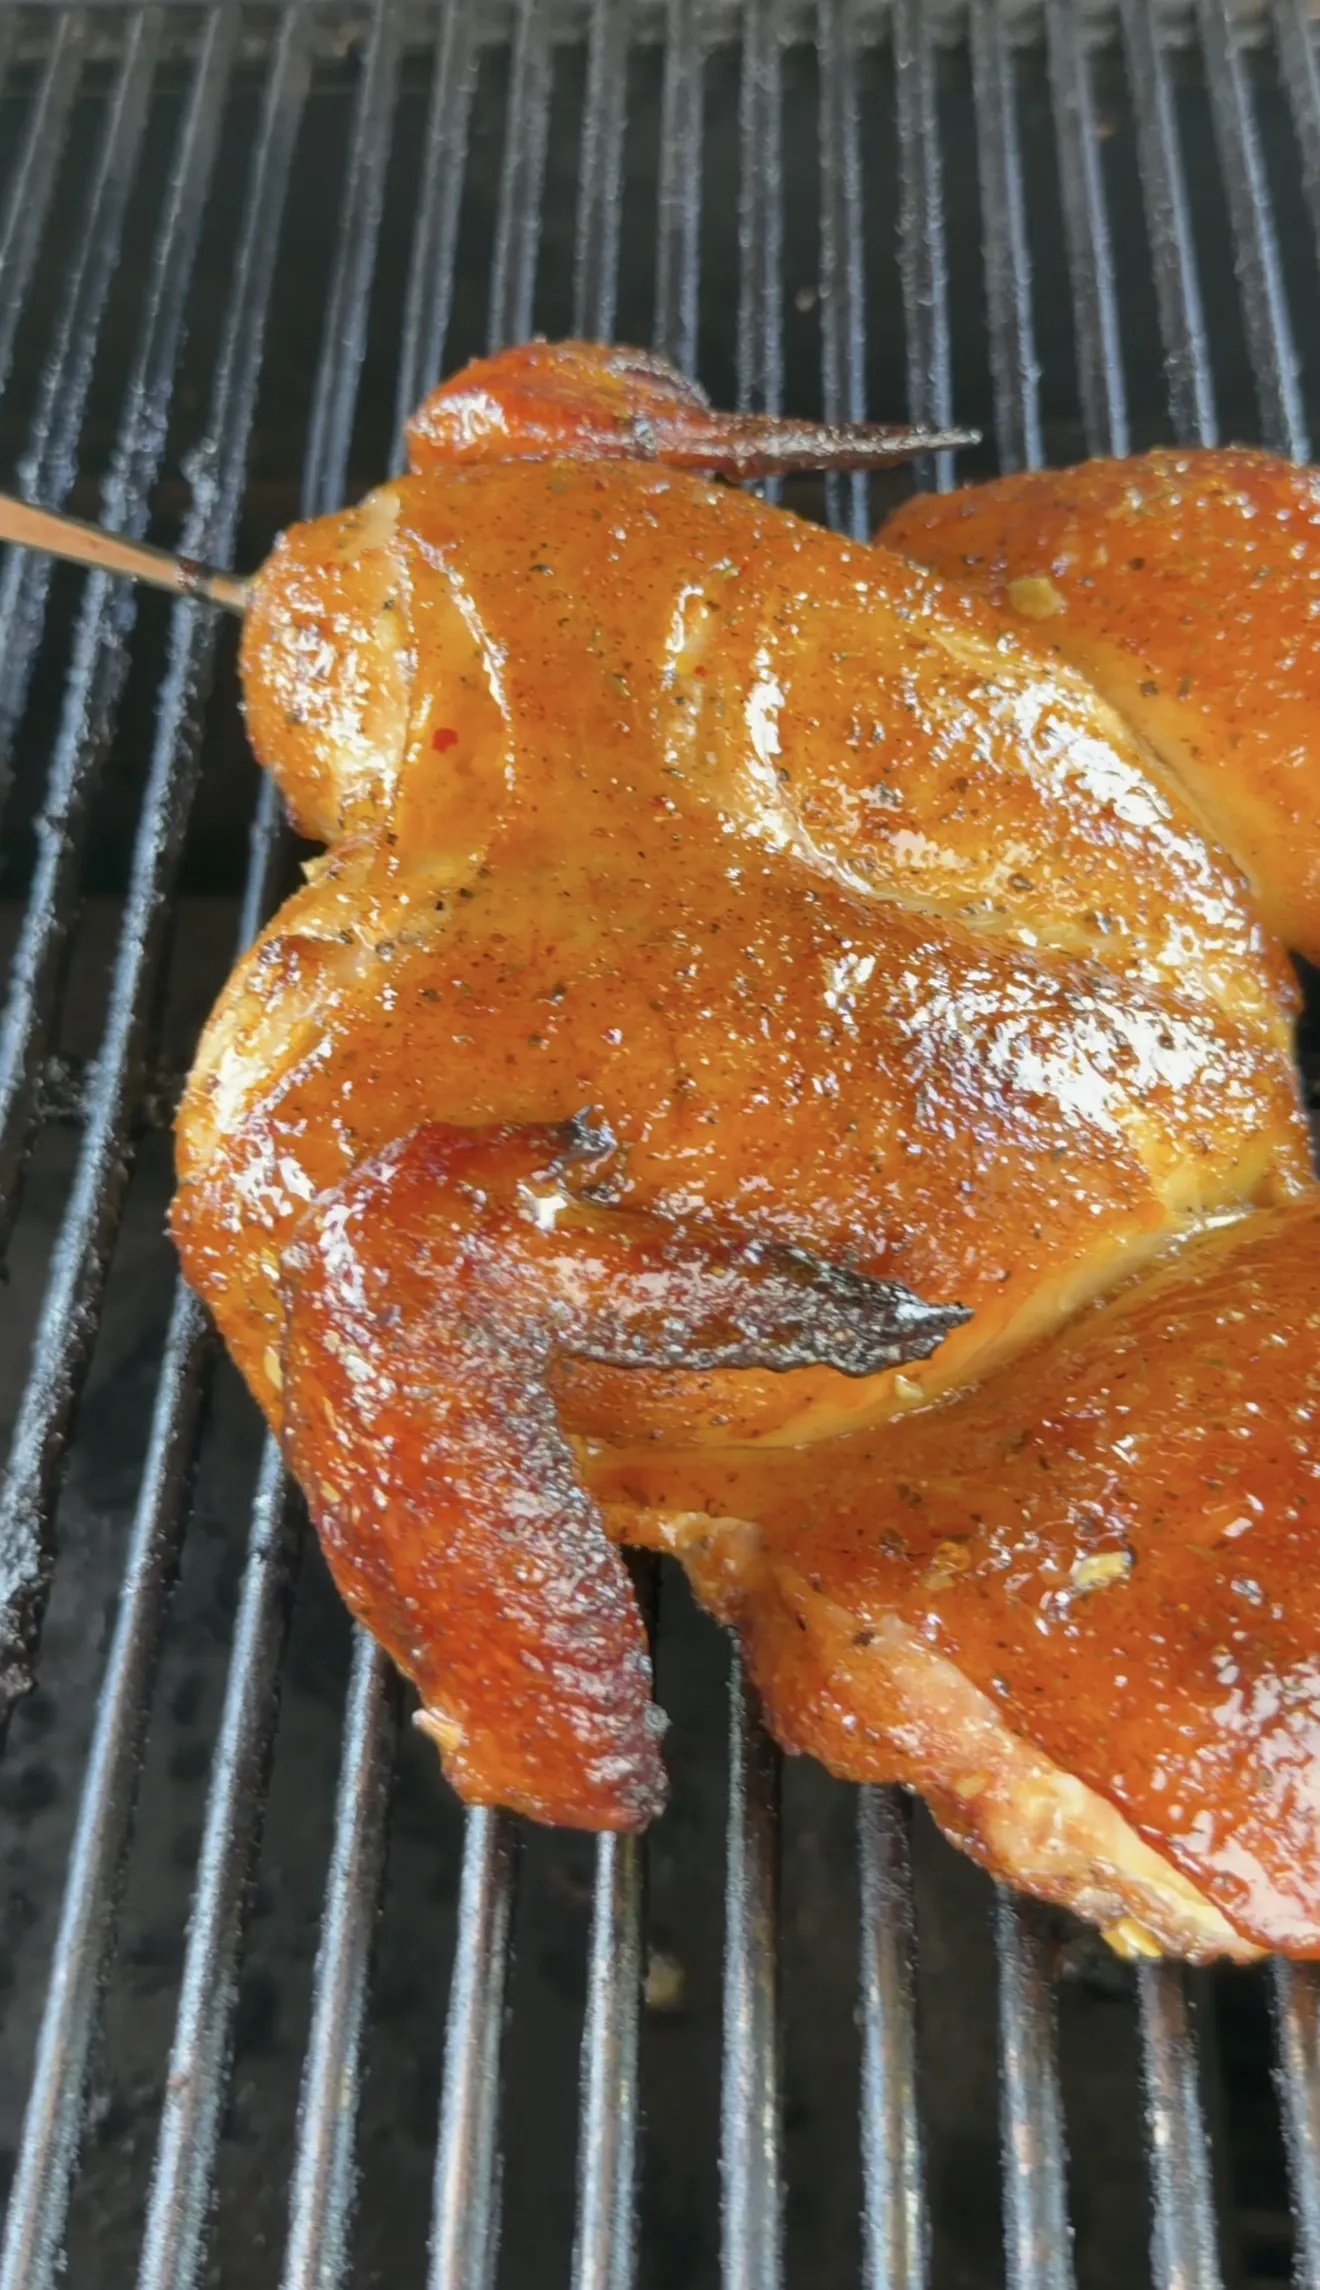
Stage Two: Finish at 350°F
Once the breast hits 145°F, bump the grill temperature to 350°F. Continue cooking until the breast reaches 160°F and the thighs reach 175°F. This usually takes another 15 to 25 minutes. The higher heat tightens and crisps the skin while the rendered fat from the first stage keeps the meat moist underneath.
Optional Final Crisp
If you want extra crispy skin, place the chicken skin-side down over direct heat for 1 to 2 minutes at the very end. Watch carefully because the rendered fat can cause flare-ups. This step is optional but it produces noticeably crunchier skin, especially on the breast where the skin is thickest.
How Long Does It Take to Grill a Spatchcock Chicken
A 4 to 5 pound spatchcocked chicken takes 50 to 70 minutes total to grill, about 35 to 45 minutes at 275°F to build smoke flavor and render fat, followed by 15 to 25 minutes at 350°F to crisp the skin.
Timing by Stage
The first stage at 275°F runs 35 to 45 minutes for a 4 to 5 pound bird. Smaller chickens toward the low end, larger toward the high end. The second stage at 350°F runs 15 to 25 minutes. Total active cook time is under 70 minutes, which is significantly faster than roasting a whole bird upright. Add 20 minutes of prep and 10 minutes of rest for a complete timeline of about 1 hour 40 minutes from start to table.
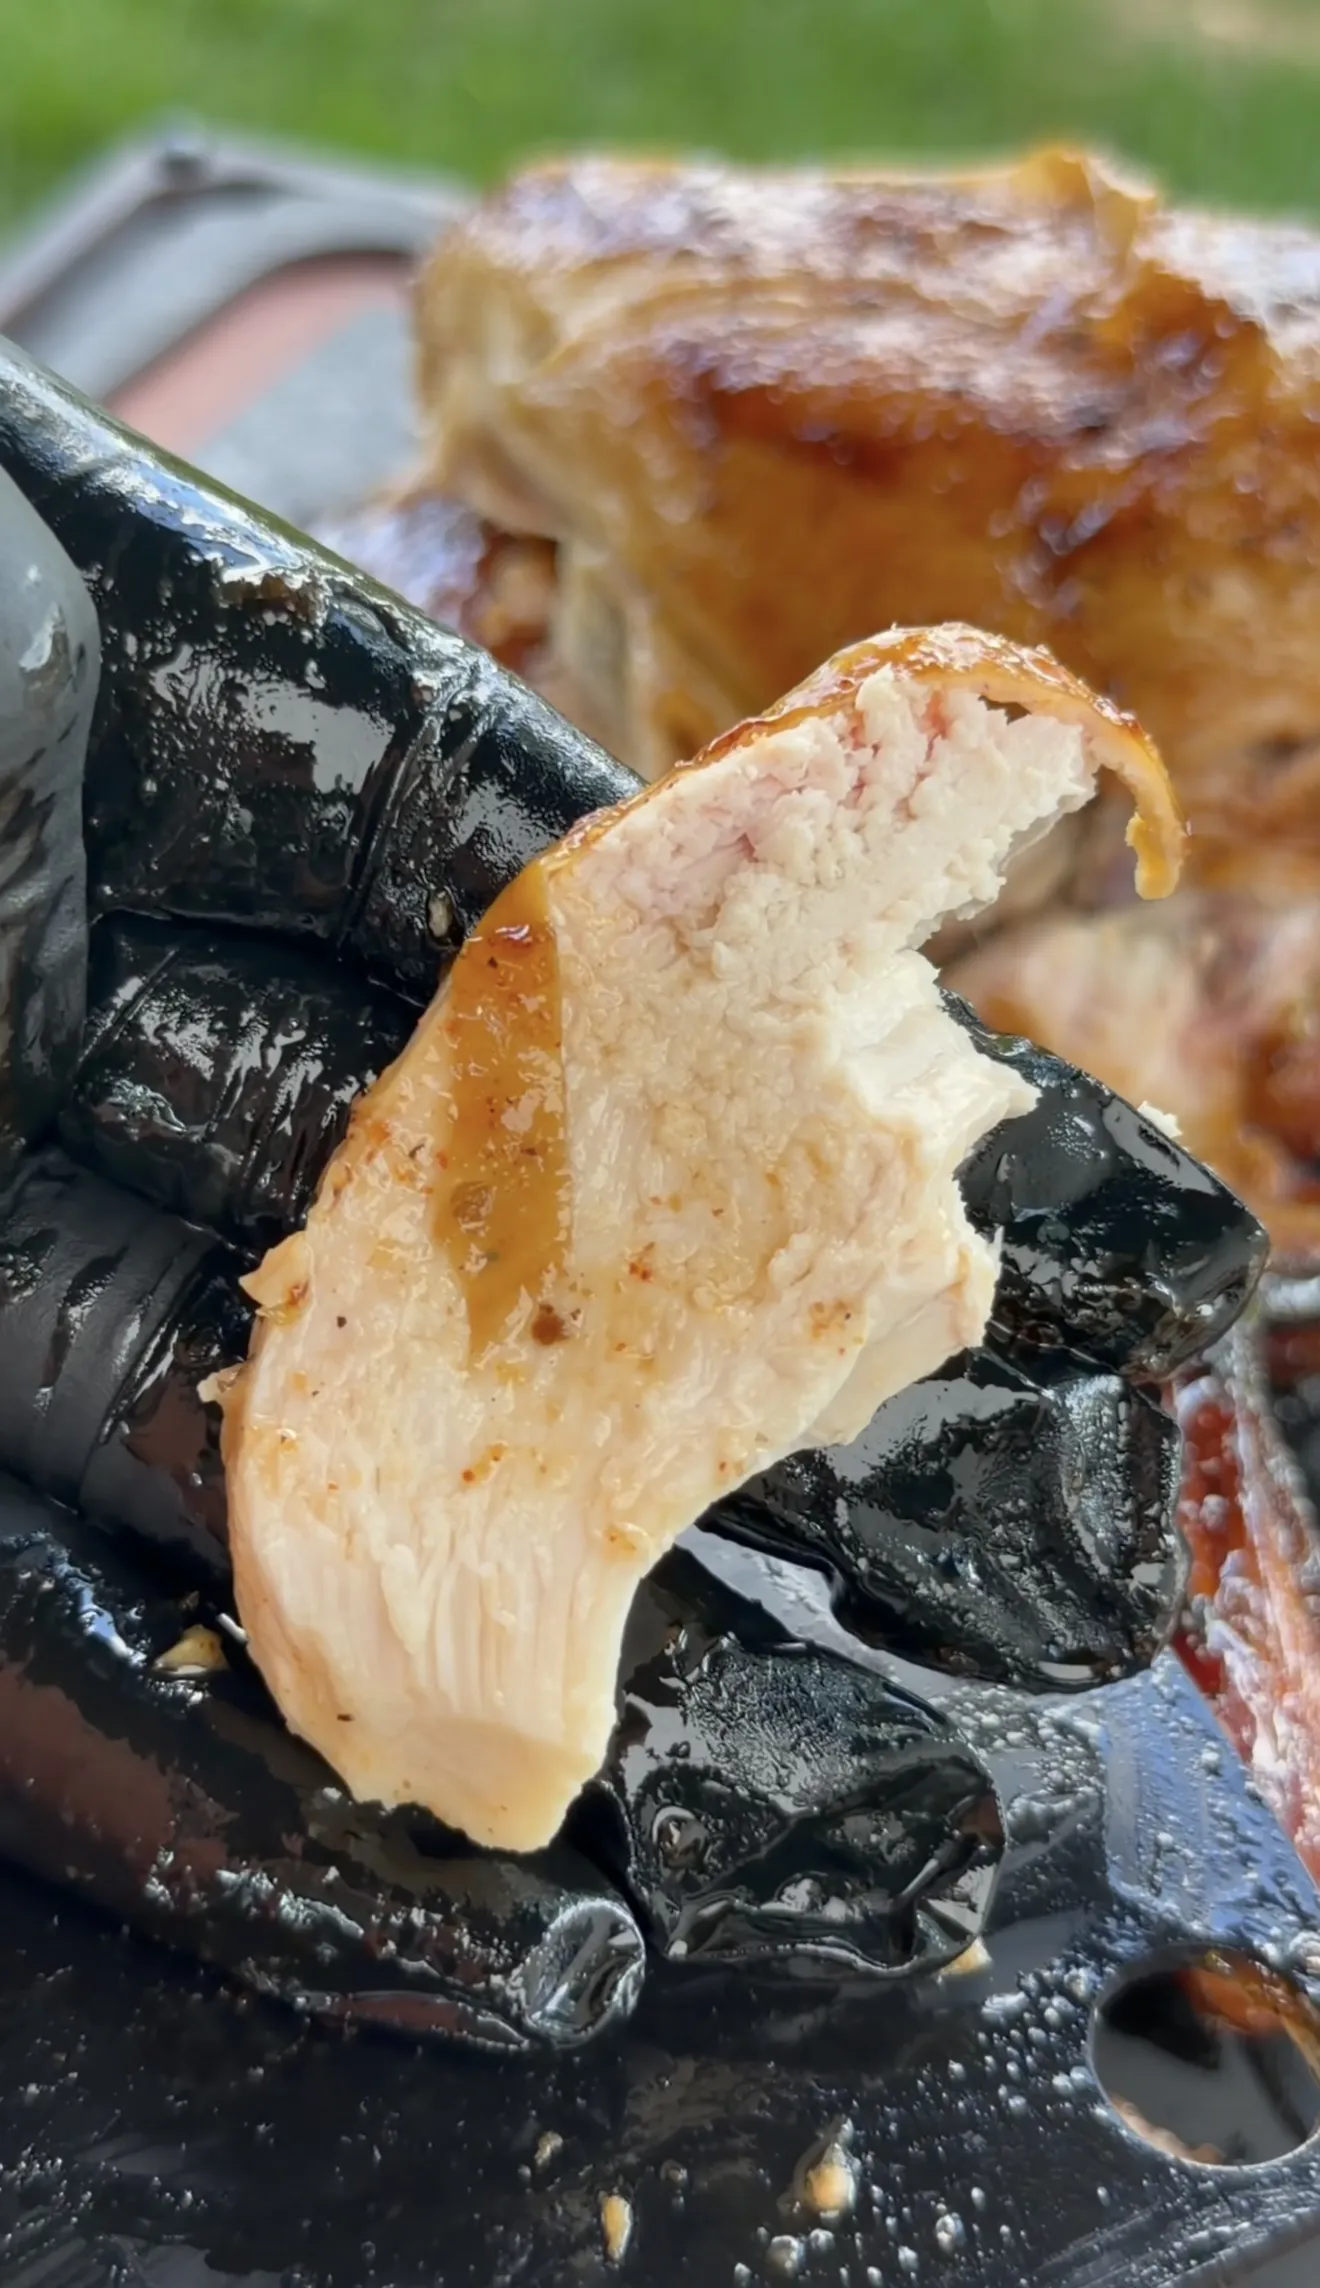
Internal Temperature Guide
Pull the breast at 160°F. Carryover heat during the 10-minute rest brings it to a safe 165°F while keeping the meat juicy. Pull the thighs and legs at 175°F, where the connective tissue has fully dissolved and the dark meat is tender. Always use an instant-read thermometer in the thickest part of each section. Do not rely on time alone because grill temperature fluctuations and bird size both affect cooking speed.

Why Dry Skin Creates Crispy Skin on Spatchcock Chicken
Moisture is the enemy of crispy chicken skin. Water on the surface must evaporate before the skin can brown, which means wet skin spends the first portion of the cook steaming instead of crisping. By the time the moisture is gone, the window for crispy skin has narrowed.
Pat Dry Twice
Pat the chicken dry before marinating so the marinade adheres better. Then pat the skin dry again after marinating and before applying the dry seasoning. This second dry is the one most people skip, and it makes a significant difference. The combination of dry skin, dry seasoning, and the avocado oil spray creates the ideal surface for bark development. For more grilled chicken thigh techniques that use the same dry-skin approach, take a look at our chili lime grilled chicken thighs.
The Avocado Oil Spray
A light spray of avocado oil after the dry seasoning helps the spices adhere and promotes even browning across the skin surface. Avocado oil has a high smoke point, which means it will not break down and turn bitter at 350°F the way olive oil can.
Pellet Grill, Charcoal, or Gas: Which Works Best
This recipe works on all three grill types. Each has a minor advantage, but none is a dealbreaker.
Pellet Grill
Pellet grills are the easiest option for this cook because you can set 275°F and walk away. The built-in smoke generation adds consistent flavor during the first stage. Bump the controller to 350°F for the finish. No fussing with vents or coal placement. Our chicken drumsticks on pellet grill recipe uses the same set-and-forget approach if you want a smaller cut to practice with.
Charcoal Grill
Charcoal produces the strongest smoke flavor and the hottest direct-heat option for the final skin crisp. Set up a two-zone fire with coals on one side. The indirect side runs the low stage. Push the chicken over the coals for the finish or the optional skin-down crisp. Manage temperature with the vents.
Gas Grill
Gas grills work with a two-zone setup: one burner on low for indirect heat, the other off. You will not get as much smoke flavor as pellet or charcoal, but adding a smoker box with wood chips during the first stage helps close the gap. Crank the lit burner to high for the finish stage.
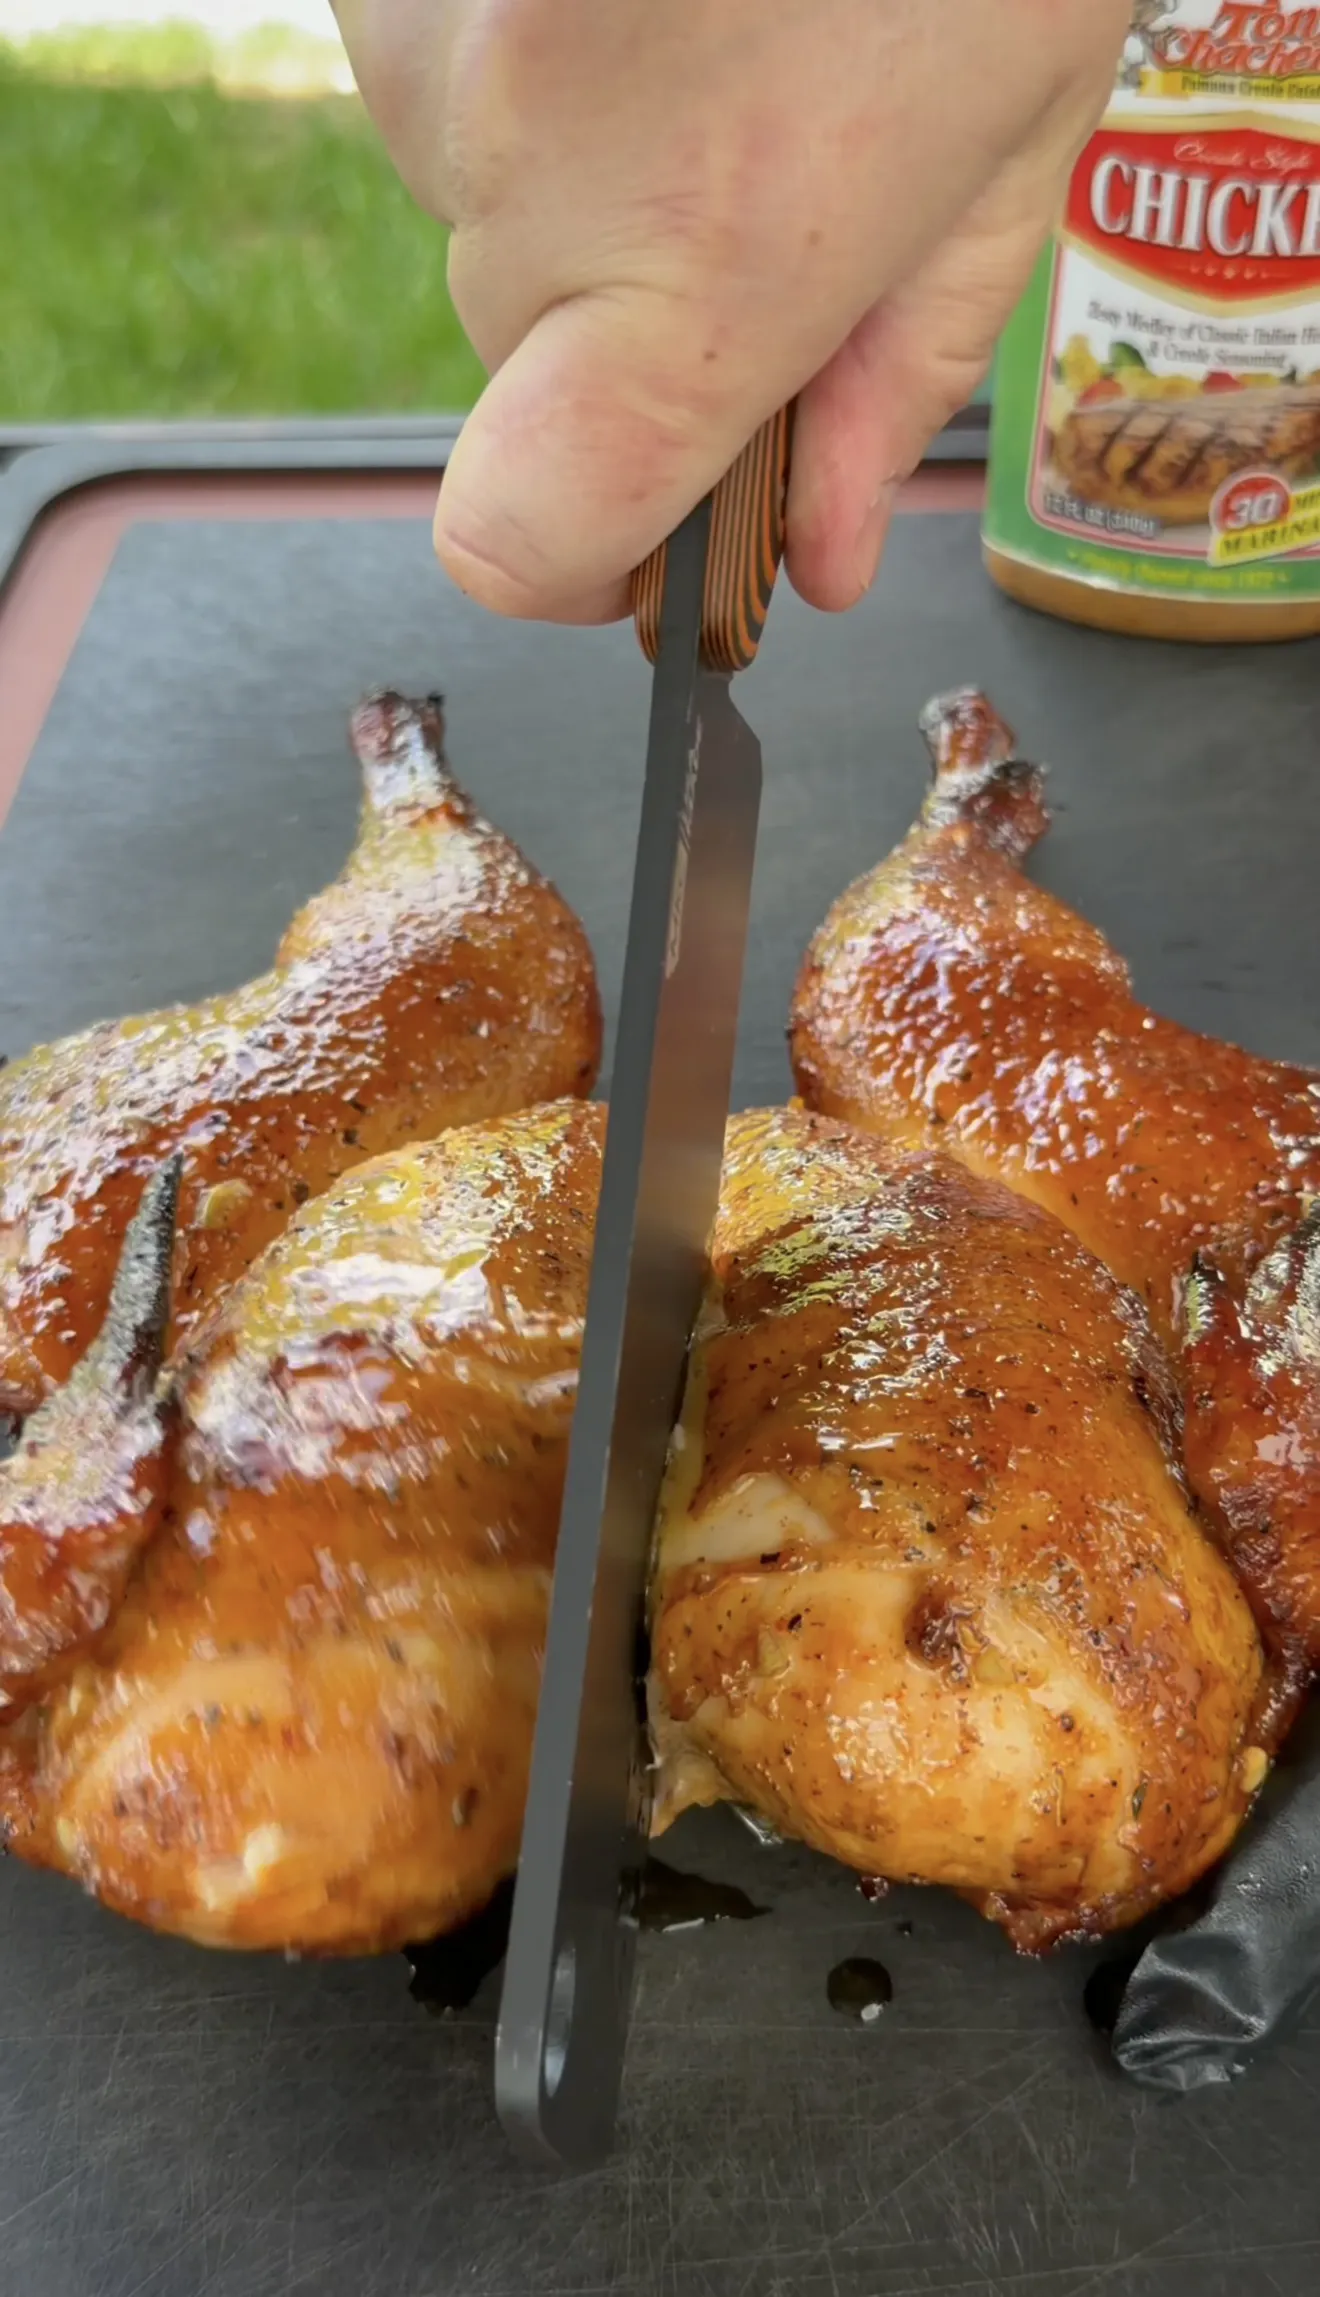
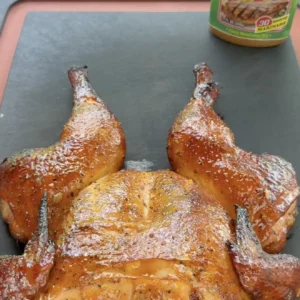
Resting and Carving
Remove the chicken from the grill and rest for 10 minutes before carving. Resting allows the juices to redistribute throughout the meat. Cutting too early causes the juices to run out onto the cutting board instead of staying in each slice.
What to Serve with Grilled Spatchcock Chicken
A whole spatchcocked chicken feeds 4 to 6 people, so it works well as the centerpiece of a bigger spread. Our smoked baked potatoes are a natural pairing because they can cook on the grill at the same time during the low stage. Grilled corn adds a charred side that ties the whole plate together. For more ideas, browse our full collection of BBQ side dishes.
Grilled Spatchcock Chicken
Two-Stage Smoke & Sear · Tony Chachere’s · Crispy Skin
- 1 whole chicken (4-5 lbs)
- 1 cup Tony Chachere’s Chicken Marinade
- 1 tbsp avocado oil spray
- 1 tbsp Tony Chachere’s Original Creole Seasoning
- 1 tsp smoked paprika
- 1 tsp garlic powder
- 1 tsp black pepper
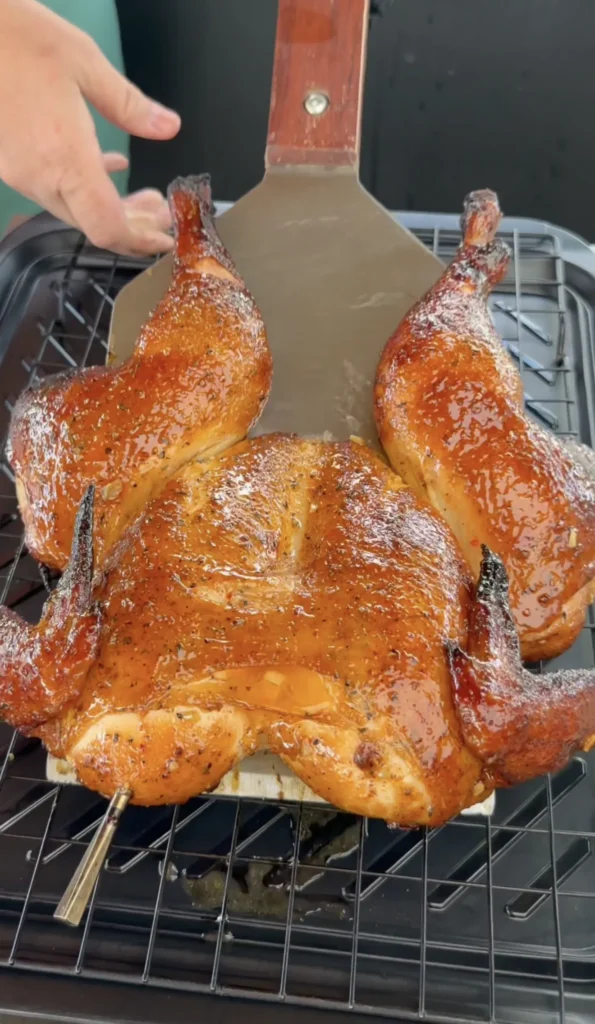
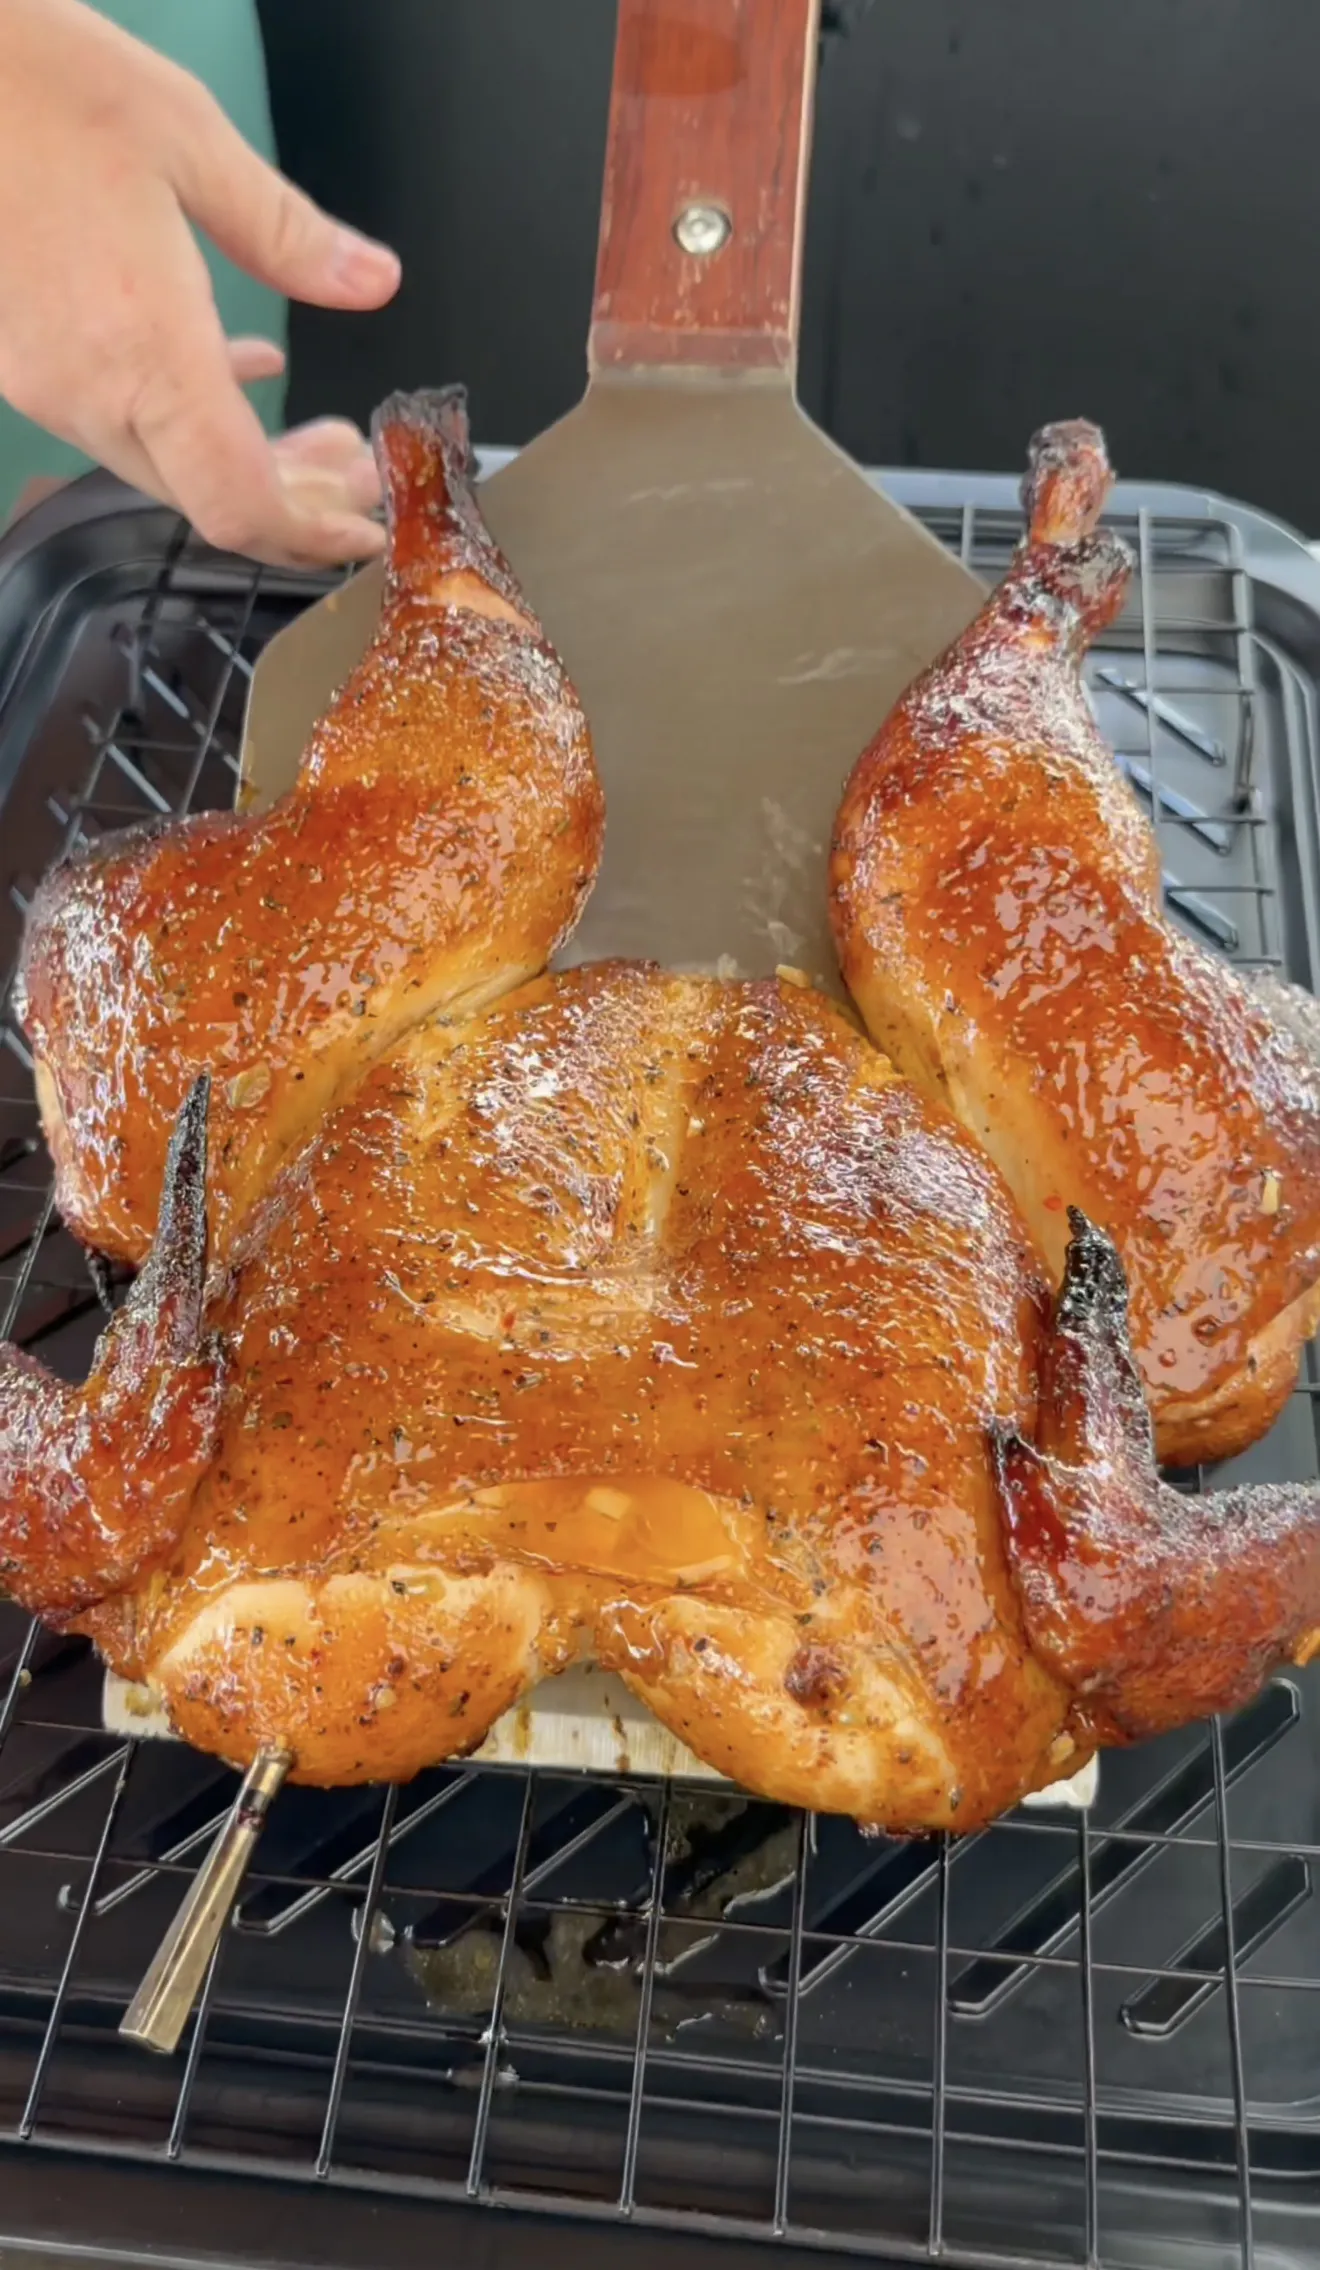
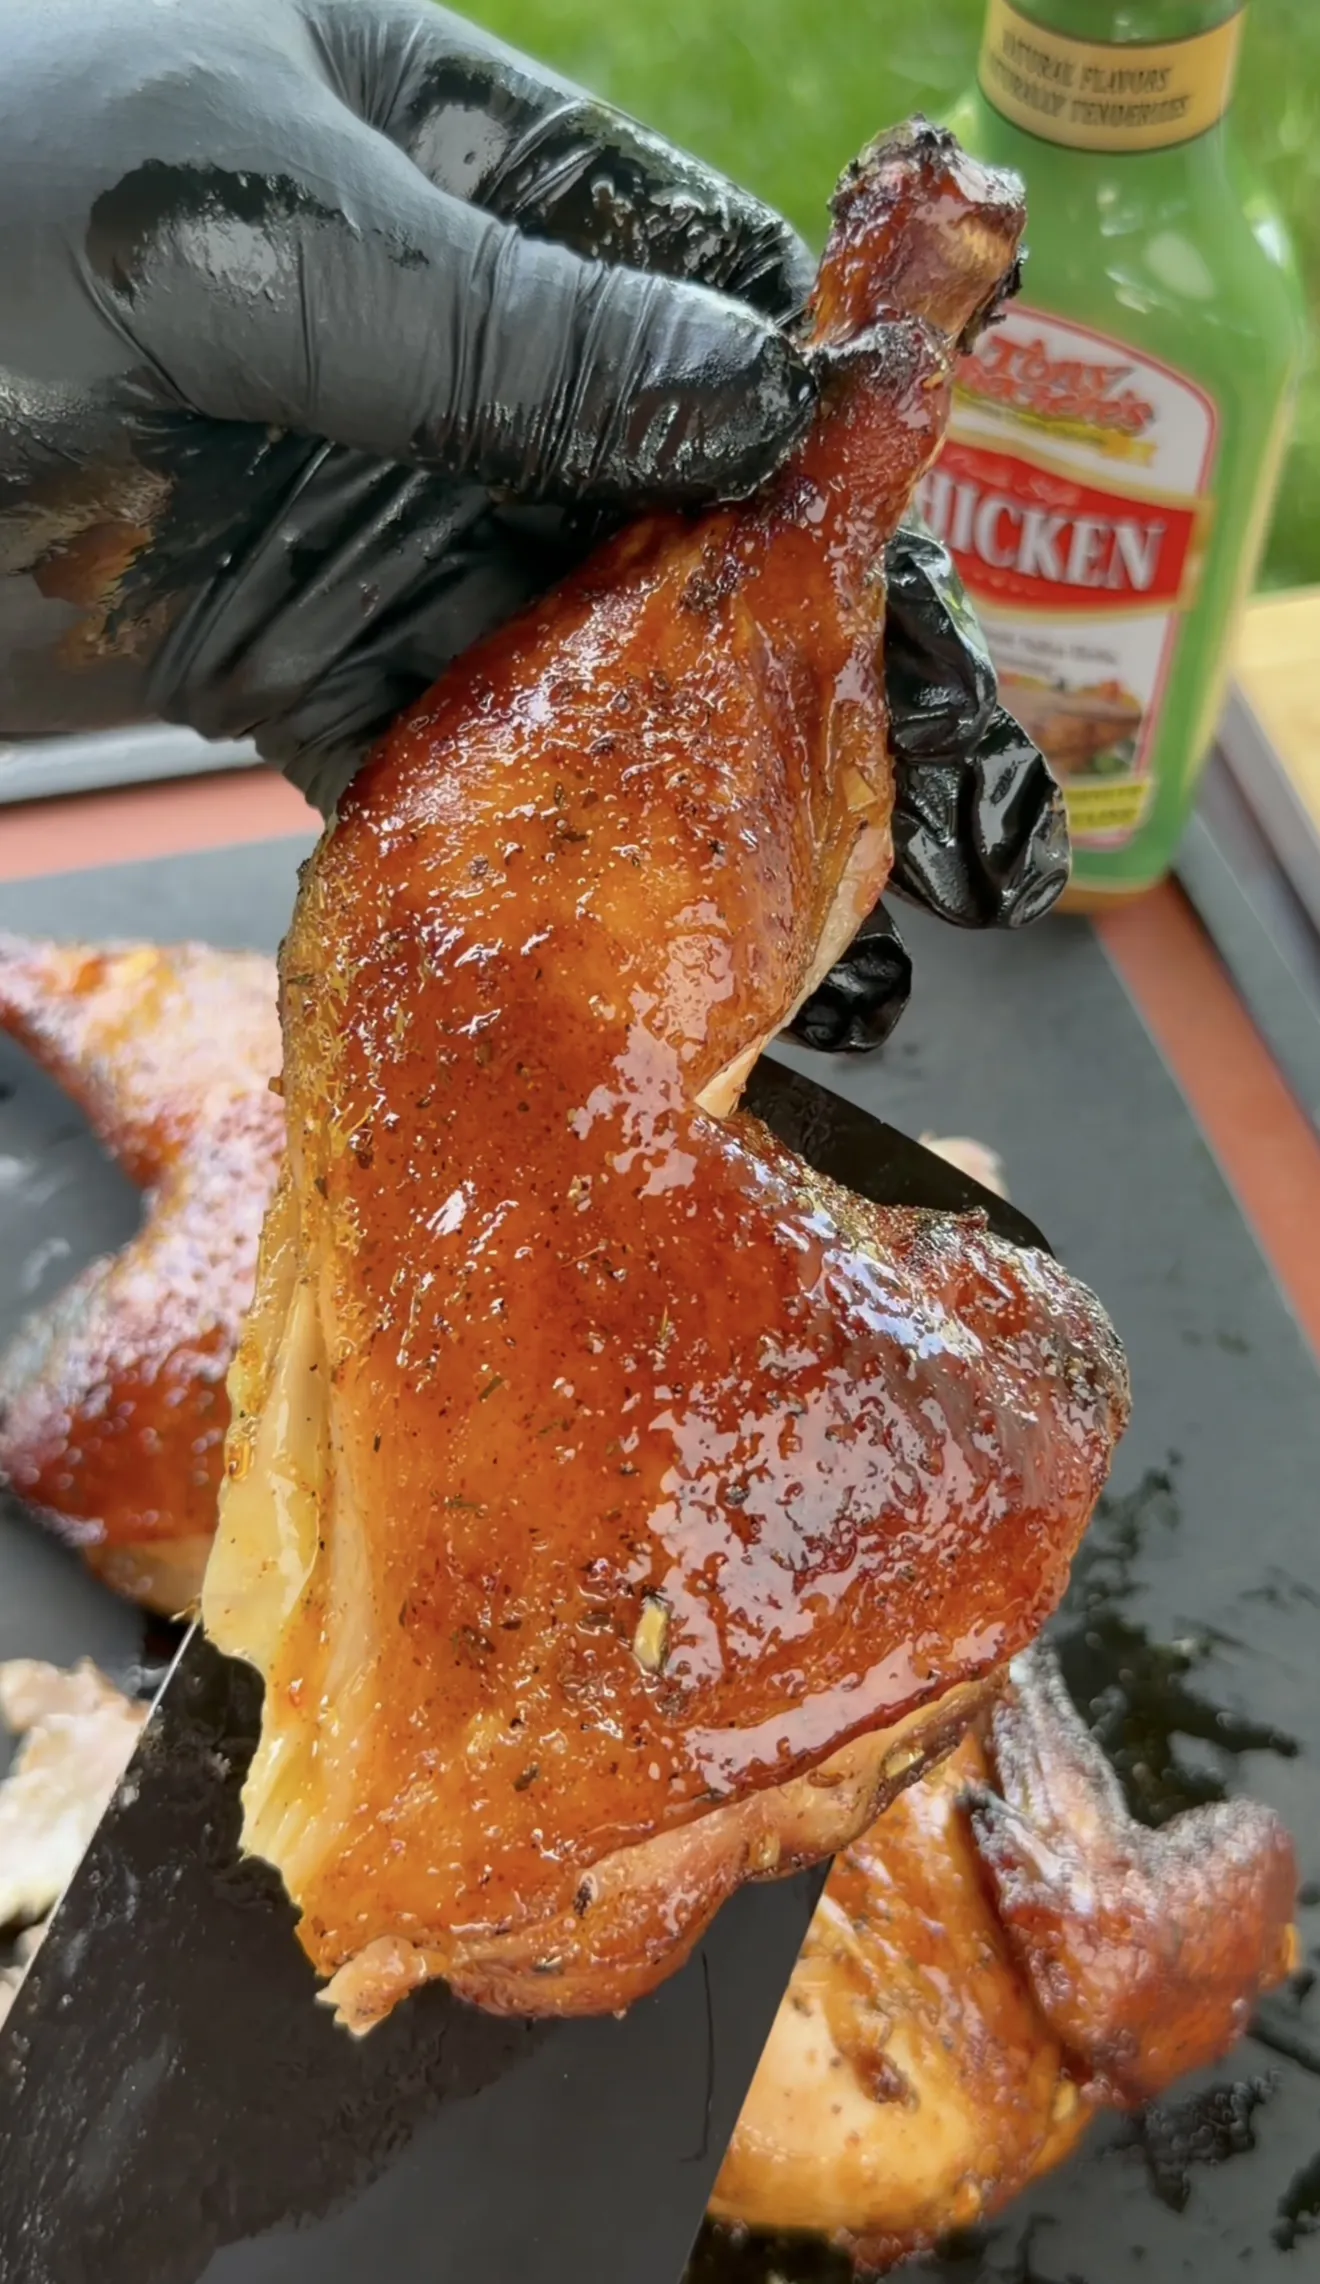
If I want maximum wow factor, I carve the breast first, then pull off a whole crispy leg quarter for the first serving shot. The two-stage method gives you a leg quarter with golden, crackly skin and dark meat that pulls clean off the bone. That single piece on a plate next to the sliced breast is the money shot every time.
Step-by-Step Instructions
Step 1: Spatchcock the Chicken
Place the chicken breast-side down. Starting at the tail end, cut along both sides of the backbone with kitchen shears and remove it. Flip the bird over and press firmly on the breastbone with both palms until it cracks flat. Trim excess skin and loose fat near the cavity.
Step 2: Marinate
Pat the chicken dry with paper towels. Apply 1 cup of Tony Chachere’s Chicken Marinade over both sides and under the skin where possible. Refrigerate for 4 to 12 hours.
Step 3: Season After Marinating
Remove from marinade and let excess drip off. Pat the skin dry again. Season all surfaces with Tony Chachere’s Original Creole Seasoning, smoked paprika, garlic powder, and black pepper. Spray lightly with avocado oil.
Step 4: Smoke at 275°F
Preheat grill to 275°F for indirect cooking. Place the chicken skin-side up. Position the legs toward the hotter side. Cook until the breast reaches 145°F internal, about 35-45 minutes.
Step 5: Finish at 350°F
Bump grill temperature to 350°F. Continue cooking until the breast reaches 160°F and thighs reach 175°F, about 15-25 minutes more.

Step 6: Optional Final Crisp
For extra crispy skin, place the chicken skin-side down over direct heat for 1-2 minutes. Watch carefully for flare-ups.
Step 7: Rest and Carve
Remove from grill and rest 10 minutes before carving. The breast will carry over to 165°F+ during the rest.
Best Grilled Spatchcock Chicken Recipe
Equipment
- Pellet Grill, Charcoal Grill, or Gas Grill
- Sharp Kitchen Shears
- Instant-Read Thermometer
- Tongs
- Cutting Board
Ingredients
Chicken & Marinade
- 1 whole chicken (4-5 lbs)
- 1 cup Tony Chachere’s Chicken Marinade
- 1 tbsp avocado oil spray
Seasoning Finish
- 1 tbsp Tony Chachere’s Original Creole Seasoning
- 1 tsp smoked paprika
- 1 tsp garlic powder
- 1 tsp black pepper
Optional Finish
- melted butter for basting
- lemon wedges
- fresh parsley
Instructions
- Place chicken breast-side down. Cut along both sides of the backbone with kitchen shears starting at the tail end. Remove backbone. Flip and press breastbone flat with both palms. Trim excess skin and fat.
- Pat chicken dry. Apply 1 cup Tony Chachere’s Chicken Marinade over both sides and under the skin. Refrigerate 4-12 hours.
- Remove from marinade, let excess drip off. Pat skin dry again. Season all surfaces with Tony Chachere’s Original Creole Seasoning, smoked paprika, garlic powder, and black pepper. Spray with avocado oil.
- Preheat grill to 275°F indirect. Place chicken skin-side up with legs toward the hotter side. Cook until breast reaches 145°F internal (35-45 minutes).
- Bump grill to 350°F. Cook until breast reaches 160°F and thighs reach 175°F (15-25 more minutes).
- Optional: place skin-side down over direct heat 1-2 minutes for extra crisp.
- Rest 10 minutes before carving. Breast carries over to 165°F+ during rest.
Notes
Frequently Asked Questions
Grilled Spatchcock Chicken
Grilled Spatchcock Chicken FAQ
Spatchcocking means removing the backbone with kitchen shears so the bird lays completely flat. This exposes more skin to heat and lets the breast and thigh cook more evenly than a whole upright bird.
Cook skin-side up the entire time on indirect heat for even rendering. Optionally finish skin-side down over direct heat for 1-2 minutes at the end if you want extra crisp.
No. You do not need to flip a spatchcocked chicken. Cooking it skin-side up the whole time on indirect heat is the standard method. The only time the skin faces down is the optional 1-2 minute direct-heat crisp at the very end.
A two-stage method works best: 275°F until the breast hits 145°F internal, then bump to 350°F until the breast hits 160°F and thighs hit 175°F. This gives you smoke flavor from the low stage and crispy skin from the hot finish.
A 4-5 pound bird takes 50 to 70 minutes total. Roughly 35-45 minutes at 275°F, then 15-25 minutes at 350°F. Add 10 minutes of rest before carving.
More Questions About Spatchcock Chicken
Pull the breast at 160°F and the thigh at 175°F. Carryover heat during a 10-minute rest will bring the breast to a safe 165°F while keeping it juicy. Always check both sections with an instant-read thermometer.
Season after marinating. The wet marinade builds flavor inside the meat, but dry seasoning applied after patting the skin dry creates better bark, color, and crispier skin. If you season before, the liquid washes it off.
Yes. Pellet grills are actually the easiest option for this recipe. Set to 275°F for the first stage to build smoke flavor, then bump to 350°F to crisp the skin. No vent management needed.
Two main causes: the skin was not patted dry before cooking, or the grill never got hot enough at the finish stage. Make sure you pat dry twice (before and after marinating) and bump to 350°F for the final stage. Finishing skin-side down over direct heat for 1-2 minutes also helps.
Either works, but spatchcocking after brining is easier because you do not have loose bones poking the brine bag. This recipe uses a marinade instead of a brine, which achieves similar flavor penetration with less prep.
Looking For More Recipes Like This?
If you enjoyed this recipe, check out our full library of grilling recipes.
See All Recipes